

Lash clusters give you the fullness of salon lash extensions without the salon price tag or the long appointment. These small sections of false lashes sit under your natural lashes instead of on top, which makes them look remarkably natural. Learning how to apply lash clusters at home takes a little practice, but most beginners get a wearable result on the very first try. This guide walks you through every step, from choosing your first kit to safe removal.
To apply lash clusters at home, brush a light coat of lash bond onto your natural lashes, then use tweezers to place each cluster underneath your lashes starting from the outer corner. Press the clusters and your natural lashes together, seal with a thin coat of sealer, and let everything set for a few minutes. The look can last up to two weeks with proper care.
What Are Lash Clusters?
Have you ever wondered what makes lash clusters different from strip lashes? Lash clusters, sometimes called lash wisps, are small segments of false lashes joined by a short flexible band. You apply them in sections under your natural lashes instead of placing one long strip above the lash line. Because the band hides under your own lashes, the result looks seamless and much more like professional lash extensions.
What Do You Need to Apply Lash Clusters at Home?
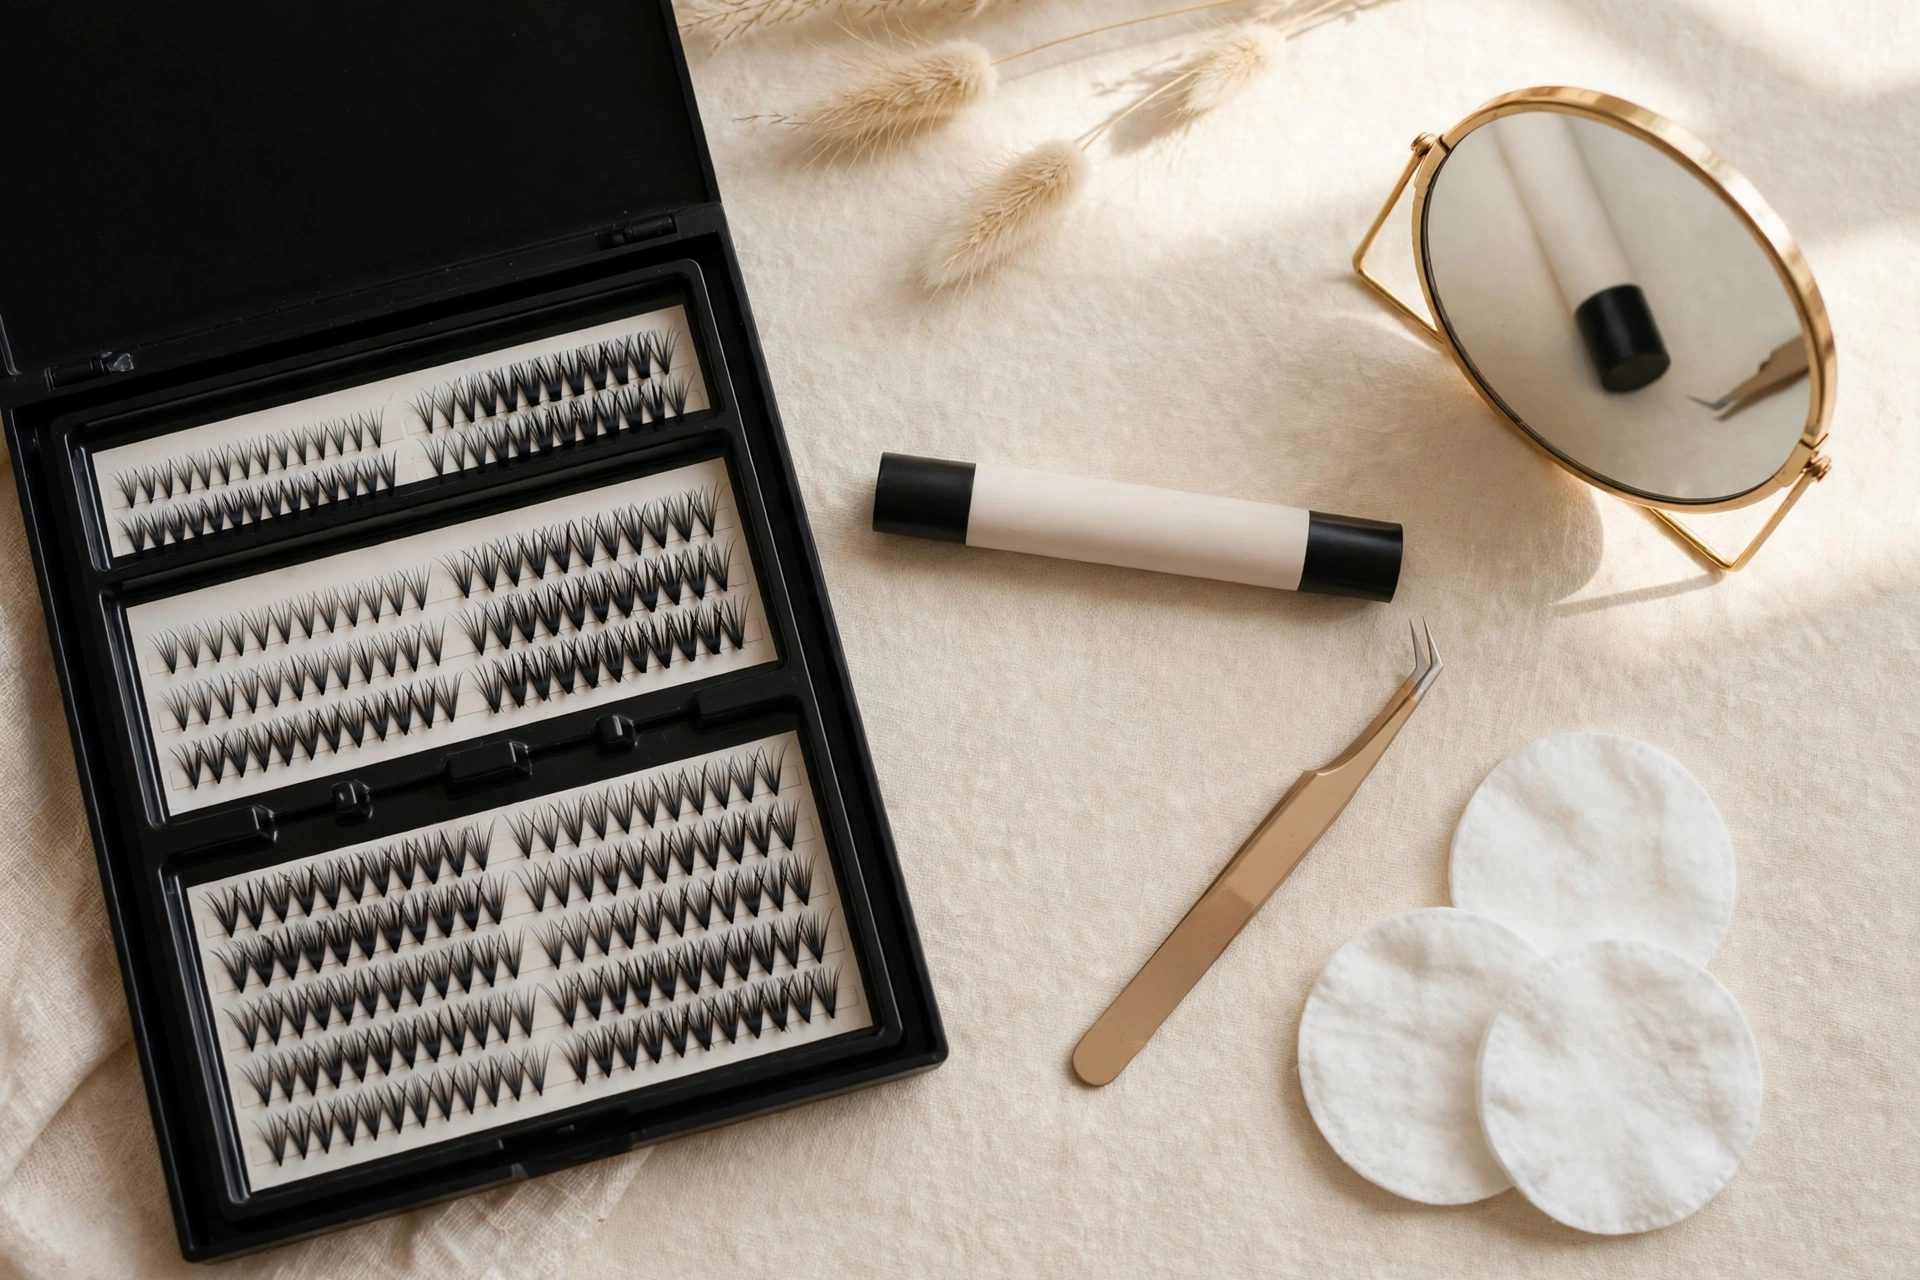
You only need a few tools to get started. A beginner lash cluster kit, such as the KISS Falscara starter kit, usually includes everything in one box. If you buy the pieces separately, here is what to gather.
- Lash clusters in a few lengths, usually 10 to 14 mm for a natural to glam range
- Lash bond, the sticky base that holds the clusters in place
- Lash sealer, which locks everything in and removes tackiness
- A lash applicator or fine tip tweezers for precise placement
- A small mirror, ideally one that tilts, so you can look down into it
- Oil free makeup remover and cotton pads for cleanup and later removal
- An overnight sealer if you want the look to last up to two weeks
How Should You Prepare Your Natural Lashes?
Do your clusters slide around or refuse to stick? The cause is almost always oily residue on your natural lashes. Start by removing every trace of makeup with an oil free cleanser, then let your lashes dry fully. Skip mascara completely, since mascara makes the bond clump and shortens wear time. Clean skin helps the bond grip, so start with freshly cleansed lashes and no mascara; if you keep a skin mist in your routine, read how hypochlorous acid spray supports clean calm skin before you begin. Finally, curl your natural lashes lightly if they point straight down, which helps the clusters blend.
Step by Step: How to Apply Lash Clusters at Home
Here is the exact process, broken into small moves you can follow with a mirror in one hand and tweezers in the other. Work on one eye at a time and take your time with the first few clusters.
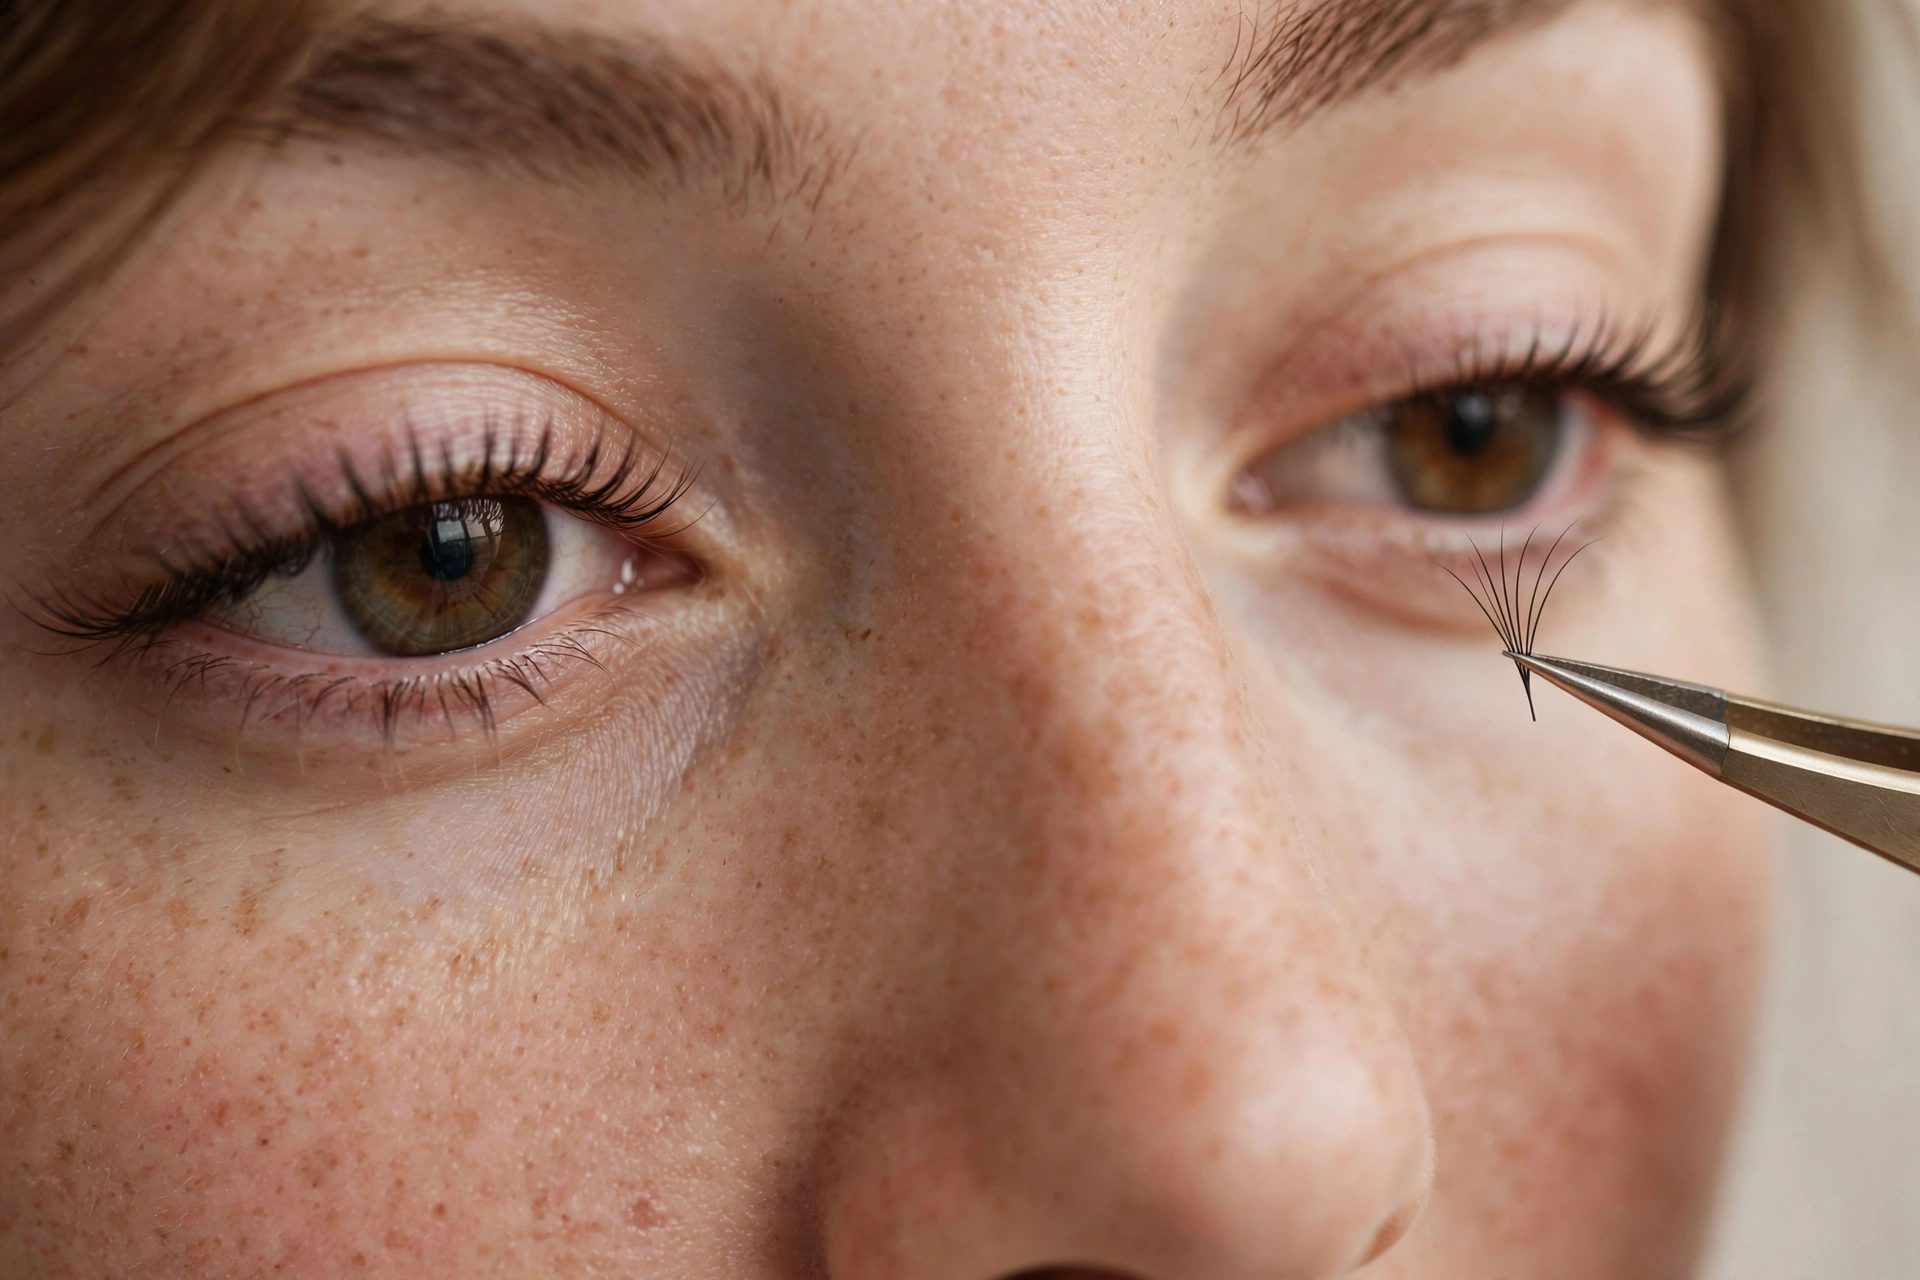
- Brush a light coat of bond along the base of your upper lashes and wait about 20 seconds until it turns tacky.
- Pick up one lash cluster from the tray with your applicator, gripping it near the middle of the band for control.
- Looking down into your tilted mirror, slide the cluster underneath your natural lashes, keeping it slightly away from the waterline to avoid irritation.
- Start at the outer corner of your eye and work inward, placing each new cluster right next to the last one for a seamless line.
- Use shorter clusters near the inner corner and longer ones toward the outer corner for a natural lifted effect.
- Dab a thin coat of sealer under the lash line to remove stickiness and lock the bond in place.
- Gently squeeze each cluster against your natural lashes with the applicator or your fingertips to fuse them together.
- Let the lashes set for a few minutes without blinking hard or touching them, then check both eyes in normal light and fill any gaps with one more cluster.
What Is Lash Mapping and Should Beginners Try It?
Lash mapping is simply planning which cluster lengths go where before you start. A beginner friendly map uses short 10 mm clusters at the inner corner, medium 12 mm clusters in the middle, and long 14 mm clusters at the outer corner. This creates an open lifted shape that flatters almost every eye. You do not need to draw anything on your skin; just lay the clusters out on the tray in order. Mapping takes one extra minute and makes the final result look far more even.
What Are the Most Common Beginner Mistakes?
Most first attempts fail for the same small reasons, and all of them are easy to fix.
- Using too much bond, which makes clusters slide and clump; a light coat is enough.
- Placing clusters on top of the lashes instead of underneath, which leaves a visible band.
- Putting clusters too close to the waterline, which causes poking and watering eyes.
- Skipping the sealer, which leaves the lashes sticky and attracts dust.
- Touching or rubbing the lashes during the first few hours while the bond sets.
How Do You Make Lash Clusters Last Longer?
Want your DIY lashes to survive a full week or more? Aftercare decides everything. Avoid water, steam, and heavy sweating for the first 24 hours while the bond cures fully. Sleep on your back or on a silk pillowcase so the clusters do not get crushed overnight. Clean around the lash line gently with an oil free cleanser on a cotton swab instead of rubbing. If you want maximum wear, brush on an overnight long wear sealer before bed; with that extra step, many wearers keep their clusters for up to two weeks.
How Do You Remove Lash Clusters Safely?
Never pull clusters off dry, since that can tear out your natural lashes. Saturate a cotton pad with lash remover or an oil free makeup remover and hold it over your closed eye for about 10 seconds. Then wipe gently downward until the clusters slide off. If any bond remains, repeat with a fresh pad instead of rubbing harder. Clean the used clusters with a little remover on a cotton swab, let them dry, and store them in their tray; most clusters can be worn up to three times.
Frequently Asked Questions
How long do lash clusters last?
With basic bond and sealer, lash clusters usually last three to five days. If you add an overnight long wear sealer and follow gentle aftercare, the same set can last up to two weeks. Oil based products and heavy rubbing shorten wear time the most.
Do lash clusters damage your natural lashes?
Lash clusters are gentler than many people expect when applied and removed correctly. The bond sits on the lashes rather than the skin, and the clusters weigh far less than a full strip. Damage happens mainly when clusters are pulled off dry or worn far past their safe window, so always dissolve the bond with remover first.
Can beginners really apply lash clusters at home?
Yes, and the learning curve is shorter than most beginners fear. Placing clusters underneath the lash line is actually more forgiving than lining up a strip lash. Most people get a clean wearable result within their first two attempts, and each application after that gets faster.
What is the difference between lash clusters and lash extensions?
Salon lash extensions are glued to individual natural lashes by a trained technician and last three to four weeks. Lash clusters are a DIY version you apply yourself in sections under the lash line at home. Clusters cost a fraction of the price and take about 15 minutes, while a salon fill appointment takes over an hour.
Can you wear mascara with lash clusters?
No, and this rule matters. Mascara, especially waterproof formulas, breaks down the bond and makes clusters clump together. It also makes removal much harder. The clusters already add the volume and length that mascara would, so you will not miss it.
With your lashes done, finish the look with a beginner friendly perfume layering routine for evenings out.
The Bottom Line
Lash clusters are the rare beauty shortcut that actually lives up to the hype. For the price of one salon visit, you get weeks of full fluttery lashes and a skill you will use again and again. Your first set might take 20 minutes, but by the third try you will be done in under 10. Grab a starter kit, follow the steps above, and enjoy lashes that look professionally done every single day.


