
Table of Content:
- Introduction
- Why Make Fat Free Paneer at Home
- Low Fat Paneer Nutrition Facts You Should Know
- Ingredients You Need for This Recipe
- How to Make Lactose Free Paneer
- Step One: Boiling the Milk
- Step Two: Curdling the Hot Milk
- Step Three: Straining and Pressing the Cheese
- Helpful Tips for Perfect Results Every Time
- Delicious Ways to Use Your Homemade Cheese
- Conclusion
Introduction:
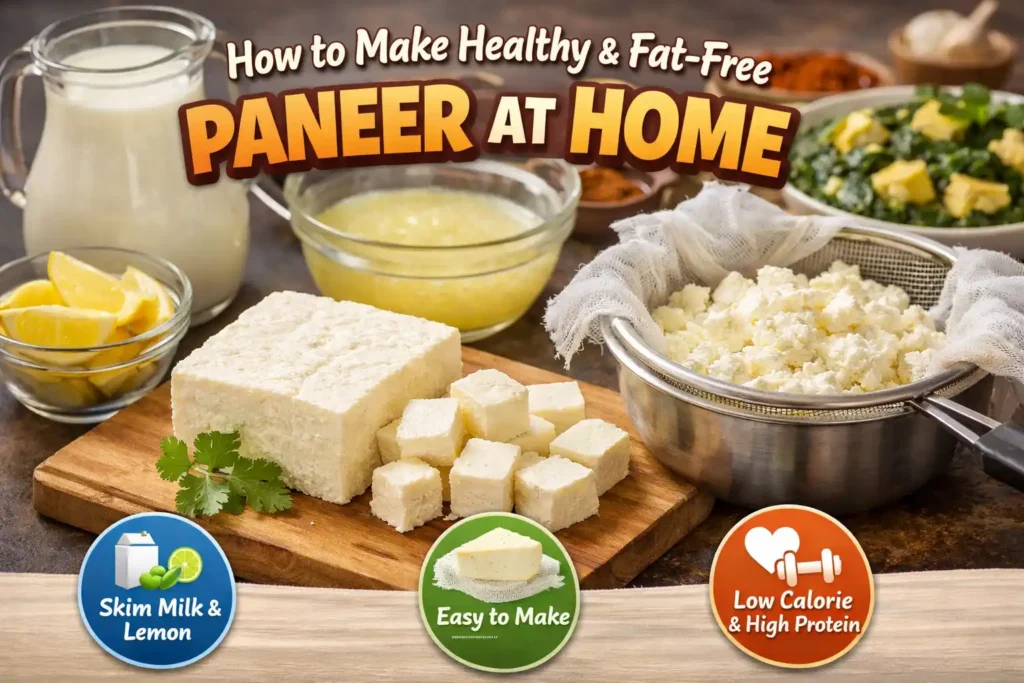
Indian cuisine is packed with bold flavors and wonderfully comforting dishes. Many of these beloved dishes traditionally use large amounts of heavy cream. Restaurants also cook with ghee which is a type of clarified butter. These rich ingredients make restaurant Indian food very high in calories. Cooking a much healthier version at home is easier than you think. A simple low fat paneer recipe can completely transform your daily cooking. Paneer is a beloved fresh cheese used across many popular Indian dishes.
It is firm, mild in taste, and very straightforward to prepare. You only need two basic ingredients to make this wonderful fresh cheese. The entire process takes less than one hour from beginning to end. Anyone can make this cheese regardless of their current cooking skill level. This guide will walk you carefully through every single important step. You will feel confident and excited once you finish reading everything here.
Why Make Fat Free Paneer at Home?
Making your own fat free paneer at home comes with many benefits. Store bought paneer is often made using whole milk and heavy cream. Whole milk varieties contain very high levels of saturated fat and cholesterol. Switching to skim milk dramatically reduces the total fat content to zero. Your finished cheese becomes a truly clean and completely guilt free protein source. Vegetarians especially benefit greatly from adding this protein rich food to meals.
Home cooking also lets you completely avoid preservatives found in packaged cheese. You have total control over every single ingredient going into your food. Making cheese at home is also significantly cheaper than buying it regularly. A fresh block of paneer costs very little money to prepare yourself. This lowfat paneer fits perfectly into any serious weight management diet plan. Families dealing with cholesterol concerns will especially appreciate this lighter dairy option. Choosing to make it yourself at home is a genuinely smart health decision.
Low Fat Paneer Nutrition Facts You Should Know:
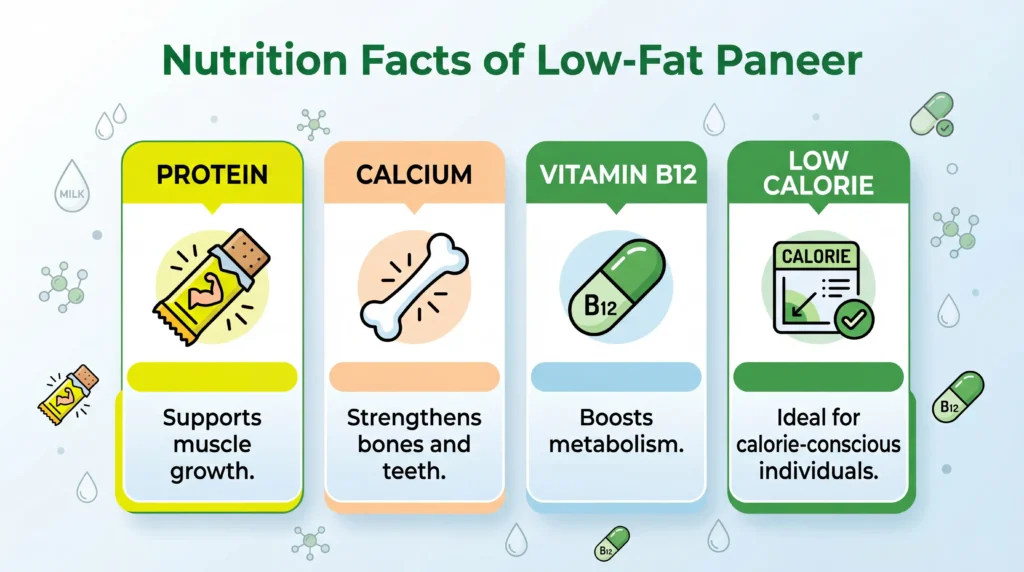
Understanding low fat paneer nutrition helps you truly appreciate its impressive health value. This cheese is extremely rich in high quality and lean protein. Protein supports healthy muscle growth and helps your body repair damaged tissues. Using nonfat milk means the final cheese product contains virtually no fat. You also get a very healthy and generous dose of dietary calcium. Calcium is essential for keeping your teeth and bones incredibly strong daily. This cheese also contains important nutrients like phosphorus and beneficial vitamin B12.
Phosphorus works closely alongside calcium to build and maintain your strong bone structure. The calorie count per serving is dramatically lower than regular full fat cheese. This makes it genuinely ideal for people who carefully count their daily calories. It is also a wonderfully filling food that keeps hunger away much longer. Athletes and fitness enthusiasts will truly love this high protein dairy option. You get all the incredible nutritional goodness without any of the unnecessary guilt.
Ingredients You Need for This Recipe:
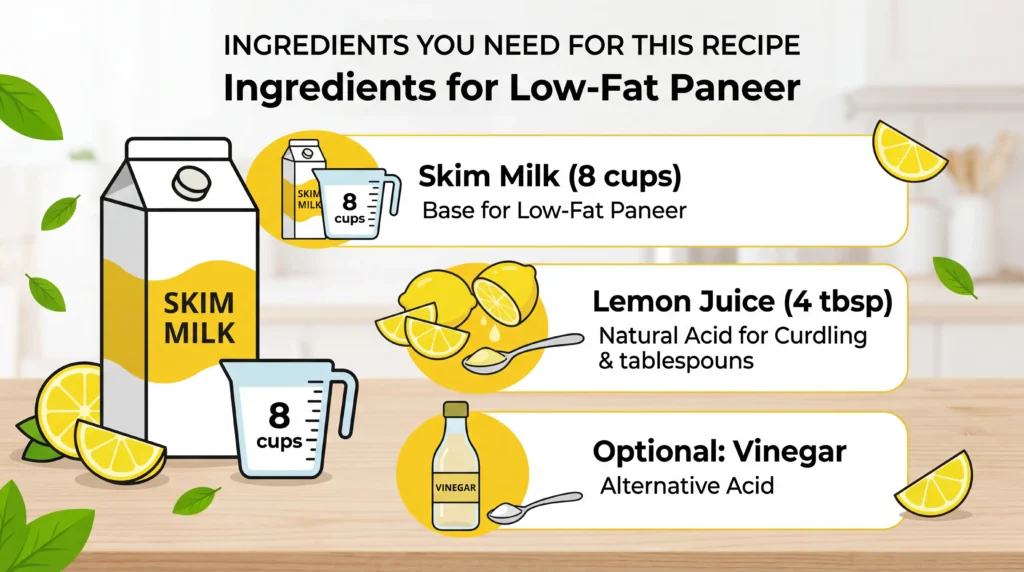
This low fat paneer recipe only requires two very simple main ingredients. The first ingredient you need is eight full cups of nonfat milk. You should always choose standard skim milk from your local grocery store. Please avoid ultra pasteurized milk because it often completely fails to curdle. The second ingredient is four tablespoons of freshly squeezed natural lemon juice. Lemon juice acts as the natural acid that carefully separates the milk solids. Bottled lemon juice is an acceptable substitute if fresh lemons are unavailable today.
White vinegar also works as an alternative curdling agent in this recipe. However, fresh lemon juice produces a much cleaner and more pleasant final flavor. You will also need a few simple and common kitchen tools for preparation. Get a large saucepan that can comfortably hold all eight cups of milk. You will need a fine strainer, clean cheesecloth, and one heavy skillet. Gather absolutely everything together before you start cooking to save valuable time.
How to Make Lactose Free Paneer?
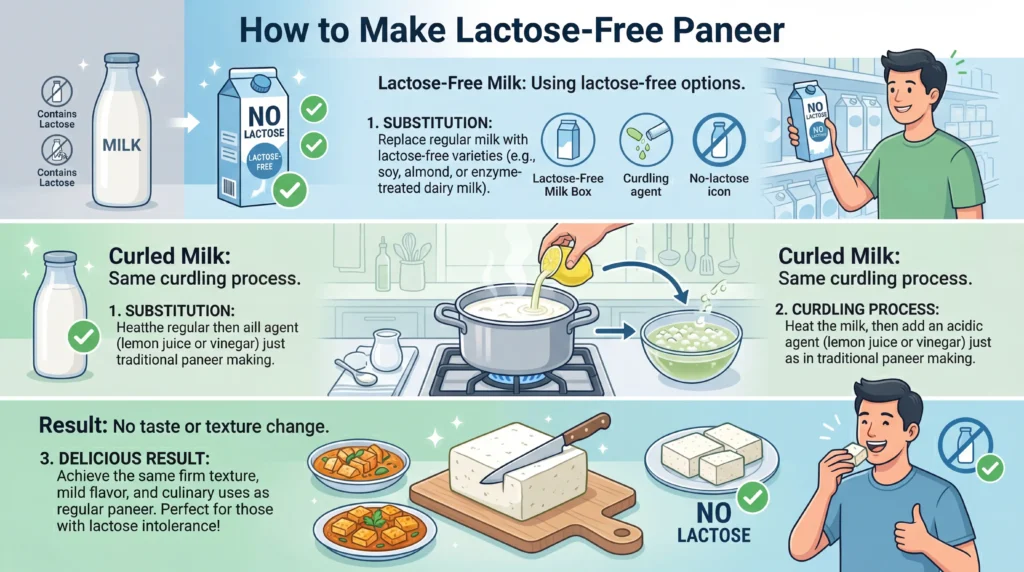
Many people deal with very uncomfortable symptoms caused by daily lactose intolerance. The good news is that making lactose free paneer is surprisingly easy. You simply swap regular nonfat milk for a specially made lactose free version. Brands like Lactaid offer excellent nonfat lactose free milk in most grocery stores. The entire cheesemaking process remains completely identical when using lactose free milk. The natural acid from lemon juice will still curdle this milk perfectly. Straining the liquid whey out also naturally removes a good portion of lactose.
Using fully lactose free milk guarantees a completely safe and enjoyable eating experience. People with dairy sensitivities can now freely enjoy all their favorite Indian curries. This simple modification does not change the final taste or texture at all. Your cheese will look and taste exactly like the completely regular version does. Everyone sitting at your dinner table will be able to eat very safely. This one small adjustment truly makes a significant difference for sensitive stomachs.
Step One: Boiling the Milk
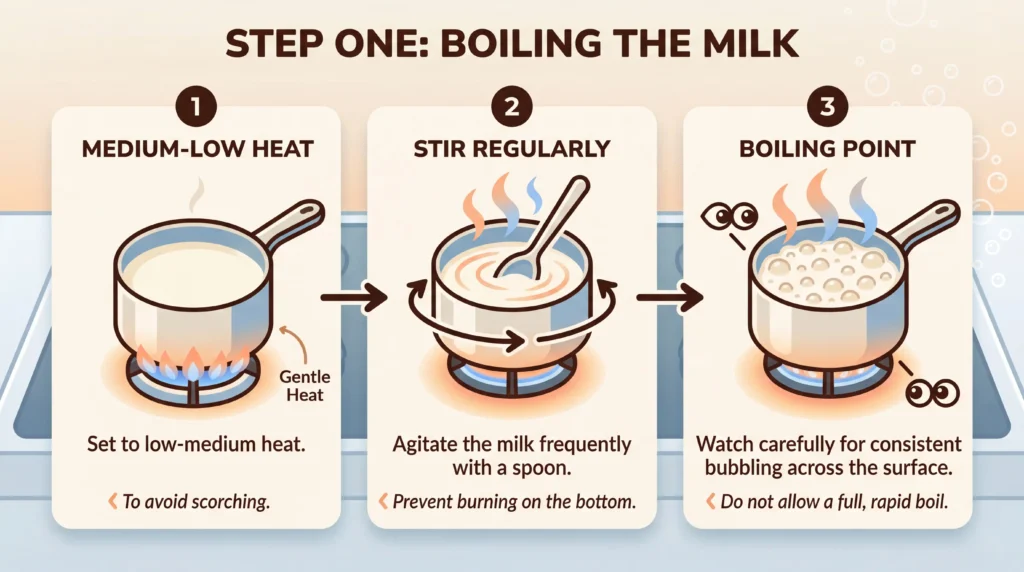
Now it is finally time to start making your fresh homemade paneer. Pour all eight cups of nonfat milk into your large saucepan. Place the saucepan carefully on your stovetop over low to medium heat. Heating the milk slowly and gently prevents it from burning on the bottom. Nonfat milk is especially prone to scorching at very high temperatures quickly. Stir the milk frequently and gently using a long wooden cooking spoon. Keep a very close eye on the pot throughout this important boiling stage.
Milk can rise and overflow extremely quickly once it reaches full boil. Watch carefully for small bubbles forming slowly around the inner pot edges first. Once you see a full rolling boil immediately remove the pan from heat. Turning off the heat right away prevents the milk from scorching completely. This first step typically takes between eight to twelve minutes to fully complete. Patience during this stage will absolutely reward you with a wonderful result.
Step Two: Curdling the Hot Milk
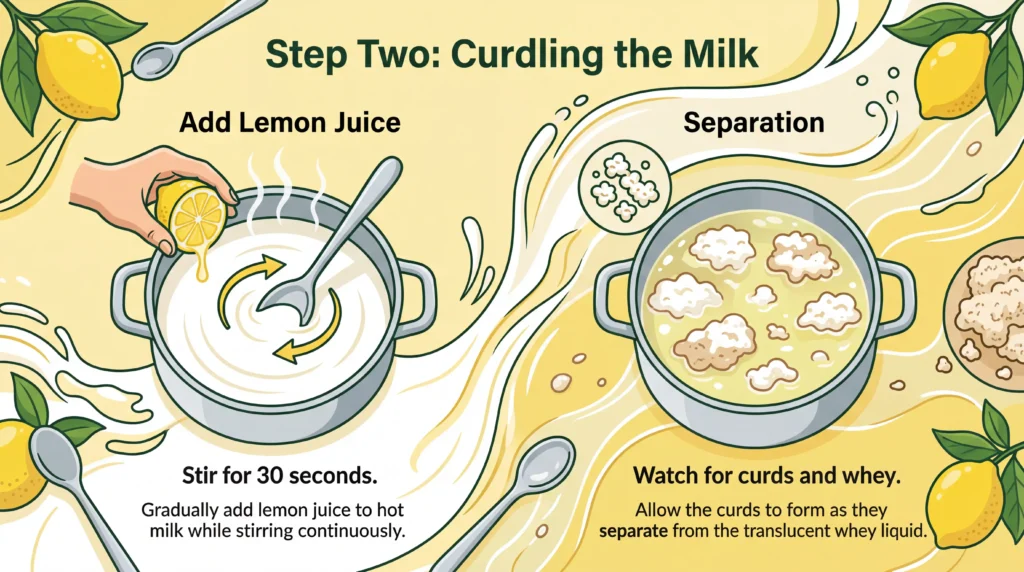
This exciting step is where the real transformation of your milk begins. Pour all four tablespoons of fresh lemon juice directly into the hot milk. Stir the mixture slowly and very gently for about thirty full seconds. You will quickly see the hot milk begin to visibly curdle and separate. Soft white solid curds will immediately start forming and rising toward the top. The remaining yellowish liquid left behind is called the thin watery whey. If separation does not occur simply add one more teaspoon of lemon juice.
Sometimes milk needs a slightly larger amount of acid to separate fully. Stop stirring the moment the whey has become clearly and completely separated out. Now let the saucepan sit quietly off the heat for a full five minutes. This short resting period allows the delicate curds to firm up nicely. Do not skip this resting step because it genuinely makes a real difference. You are now very close to completing your delicious low fat paneer recipe.
Step Three: Straining and Pressing the Cheese
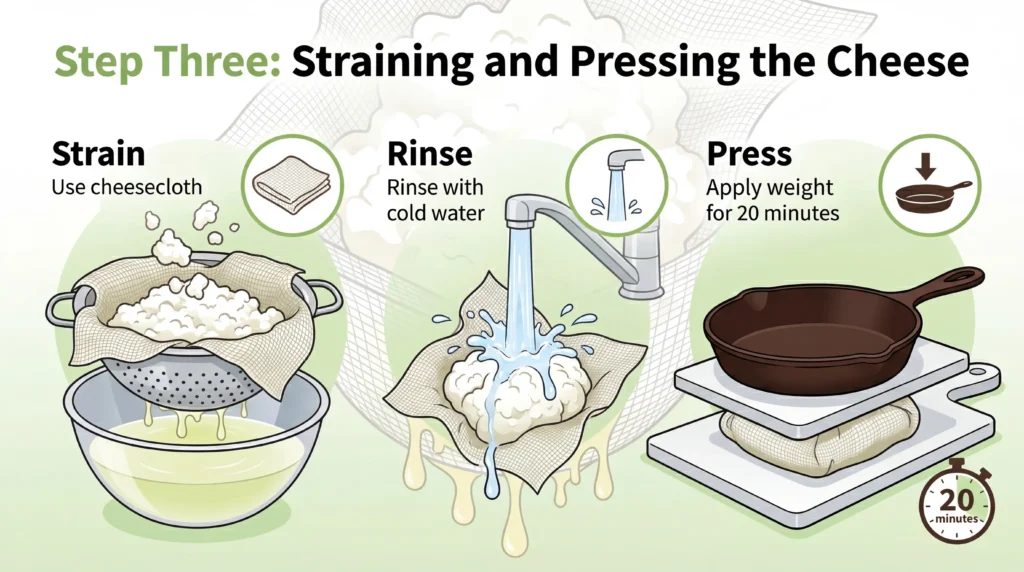
Set a fine mesh strainer very carefully over a large clean mixing bowl. Line the strainer generously with several clean and overlapping layers of cheesecloth fabric. Slowly and carefully pour the curdled milk mixture completely into the lined strainer. The thin yellowish watery whey will drain down through into the bowl below. The cheesecloth will carefully catch and hold all the beautiful white solid curds. Rinse the gathered curds briefly under cool running tap water right now. This very important step washes away any remaining sharp lemon juice flavor completely.
Pull all the edges of the cheesecloth firmly together to form a tight ball. Twist the top very firmly to squeeze out as much liquid moisture as possible. Place the tightly wrapped cheese ball carefully onto a completely clean flat surface. Set a heavy cast iron skillet directly and firmly on top of it. Leave the weight pressing down firmly for a full twenty minutes minimum. Your finished cheese will come out as a beautifully firm and sliceable block.
Helpful Tips for Perfect Results Every Time:
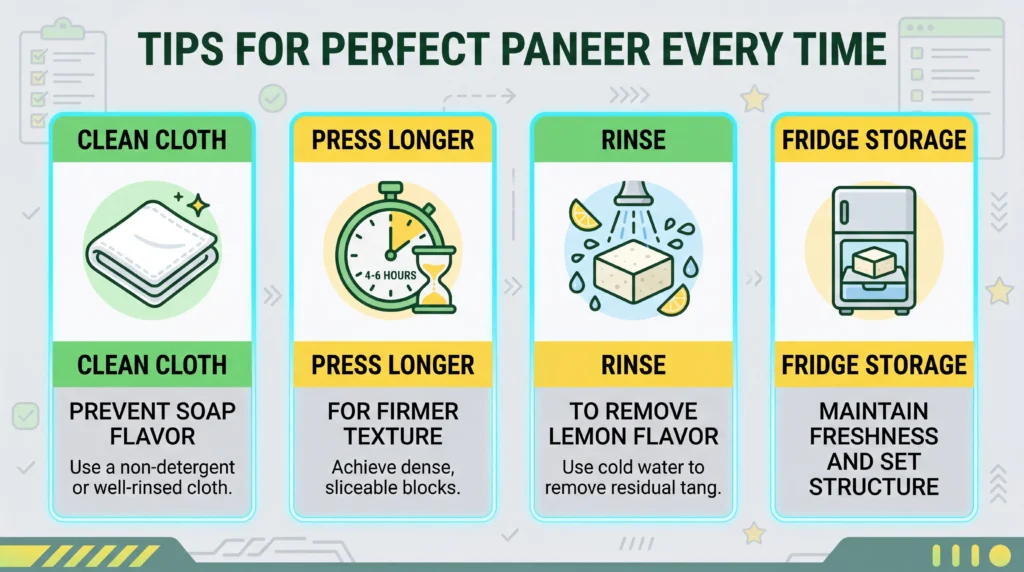
Many home cooks search online specifically for a good low fat panner recipe. Even with that common alternative spelling the actual cooking method stays exactly the same. Always make absolutely sure your cheesecloth is completely clean before you begin cooking. Soap residue accidentally left on the cloth can leave an unpleasant taste behind. Pressing the cheese for a longer period will always result in a firmer block. Try pressing for a full forty minutes if you want very firm clean cubes. A shorter pressing time instead creates a softer and more crumbly cheese texture.
Crumbly paneer is absolutely wonderful for scrambling with onions and aromatic warming spices. Never skip the cold water rinsing step as lemon flavor can easily overpower dishes. Store your finished cheese block inside a sealed airtight container in your refrigerator. Fresh homemade paneer will stay perfectly good in the refrigerator for up to three days. You can also freeze solid blocks for convenient use in future dinner recipes. Always thaw your frozen paneer slowly in the refrigerator before you cook it.
Delicious Ways to Use Your Homemade Cheese:
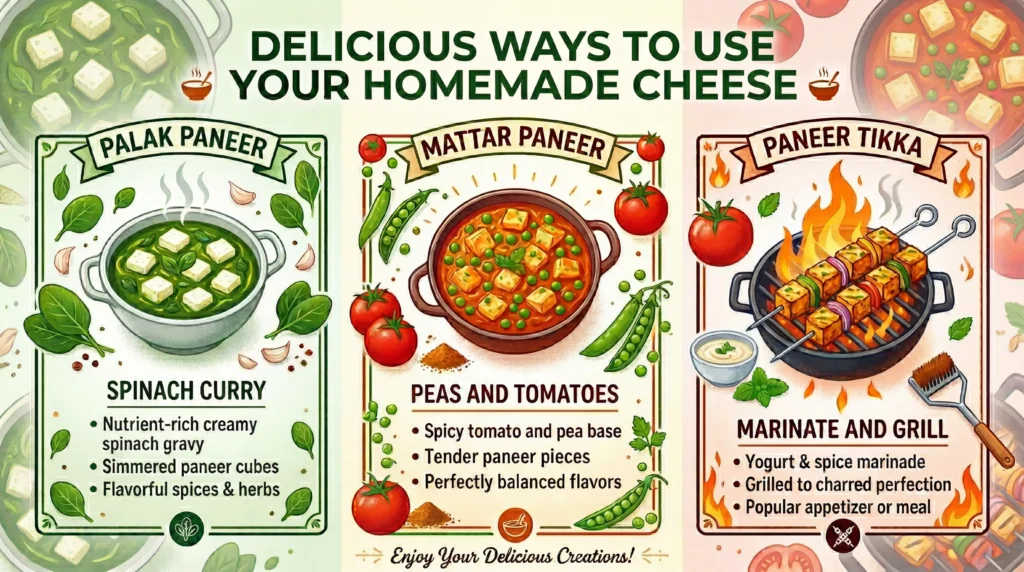
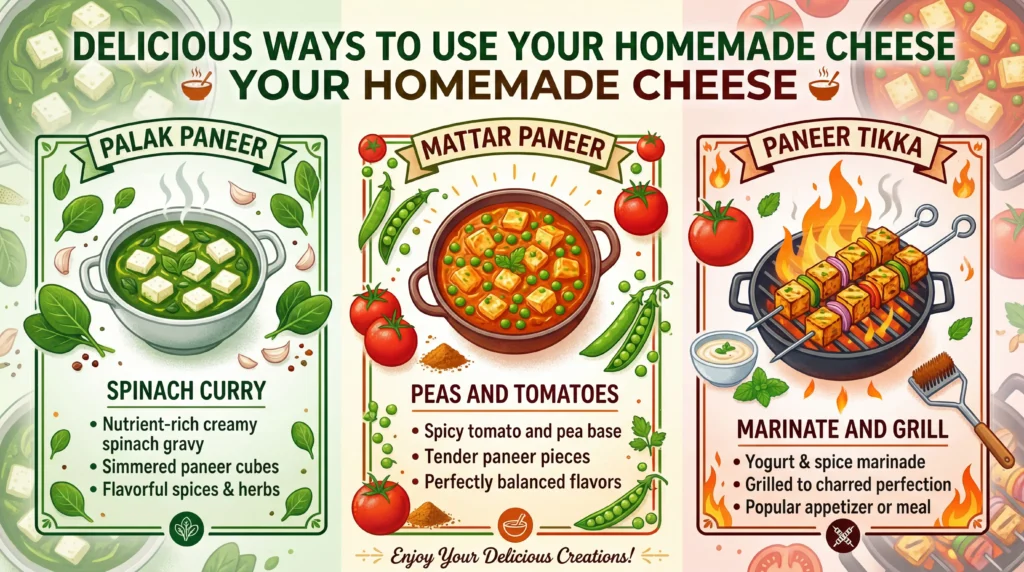
Your freshly prepared fat free paneer is now completely ready to cook with. Cut the firm solid block into evenly sized small and neat bite sized cubes. Toss the cubes into a richly flavored and beautifully spiced creamy spinach sauce. This popular combination creates the well known Indian dish called palak paneer. You can also combine the fresh cheese with cooked green peas and tomatoes. This hearty combination forms the incredibly comforting Indian dish called mattar paneer. Try marinating your cheese cubes in seasoned yogurt mixed with warming fragrant spices.
Thread the well marinated pieces onto wooden skewers and grill until lightly charred. This wonderful cooking method creates a fantastic healthy appetizer known as paneer tikka. You can also crumble the soft cheese generously over freshly roasted spiced vegetables. The naturally mild flavor of paneer perfectly balances any intensely spiced and rich curry sauce. Your whole family will absolutely love every satisfying meal you create with this cheese.
Conclusion:
We genuinely hope you feel excited about making this low fat paneer recipe. Taking full control of your diet starts with making smarter and simpler kitchen choices. This incredibly simple two ingredient cheese makes healthy Indian cooking accessible to absolutely everyone. You now have all the knowledge and confidence needed to prepare it yourself. Share this wonderful and healthy recipe with your health conscious friends and family. Try making the lactose free paneer version if anyone at home has sensitivities.
Experiment freely with different curries and dishes using your freshly prepared homemade cheese. Each new dish you cook will naturally improve your kitchen skills a little. We would genuinely love to hear about your personal experience making this recipe. Please leave a friendly comment below telling us exactly how everything turned out. Let us also know which exciting dish you decided to make with it. Healthy home cooking always leads to a much happier and more fulfilled daily life.
Want more food and wellness content? Check out our Food category now.
You May Also Like:


