 How to Build a Stunning Wall Display with Floating Wall Mounted Shelves
We have all stared at a blank wall in our home and thought, “Something is missing here.”
Maybe it’s that awkward space above the toilet, a bare stretch of wall in the hallway, or a cluttered corner in the kitchen where the counters are overflowing. You want to decorate, but you also need storage. You want it to look modern, but you don’t want to spend a fortune or hire a contractor.
The solution? Floating wall-mounted shelves.
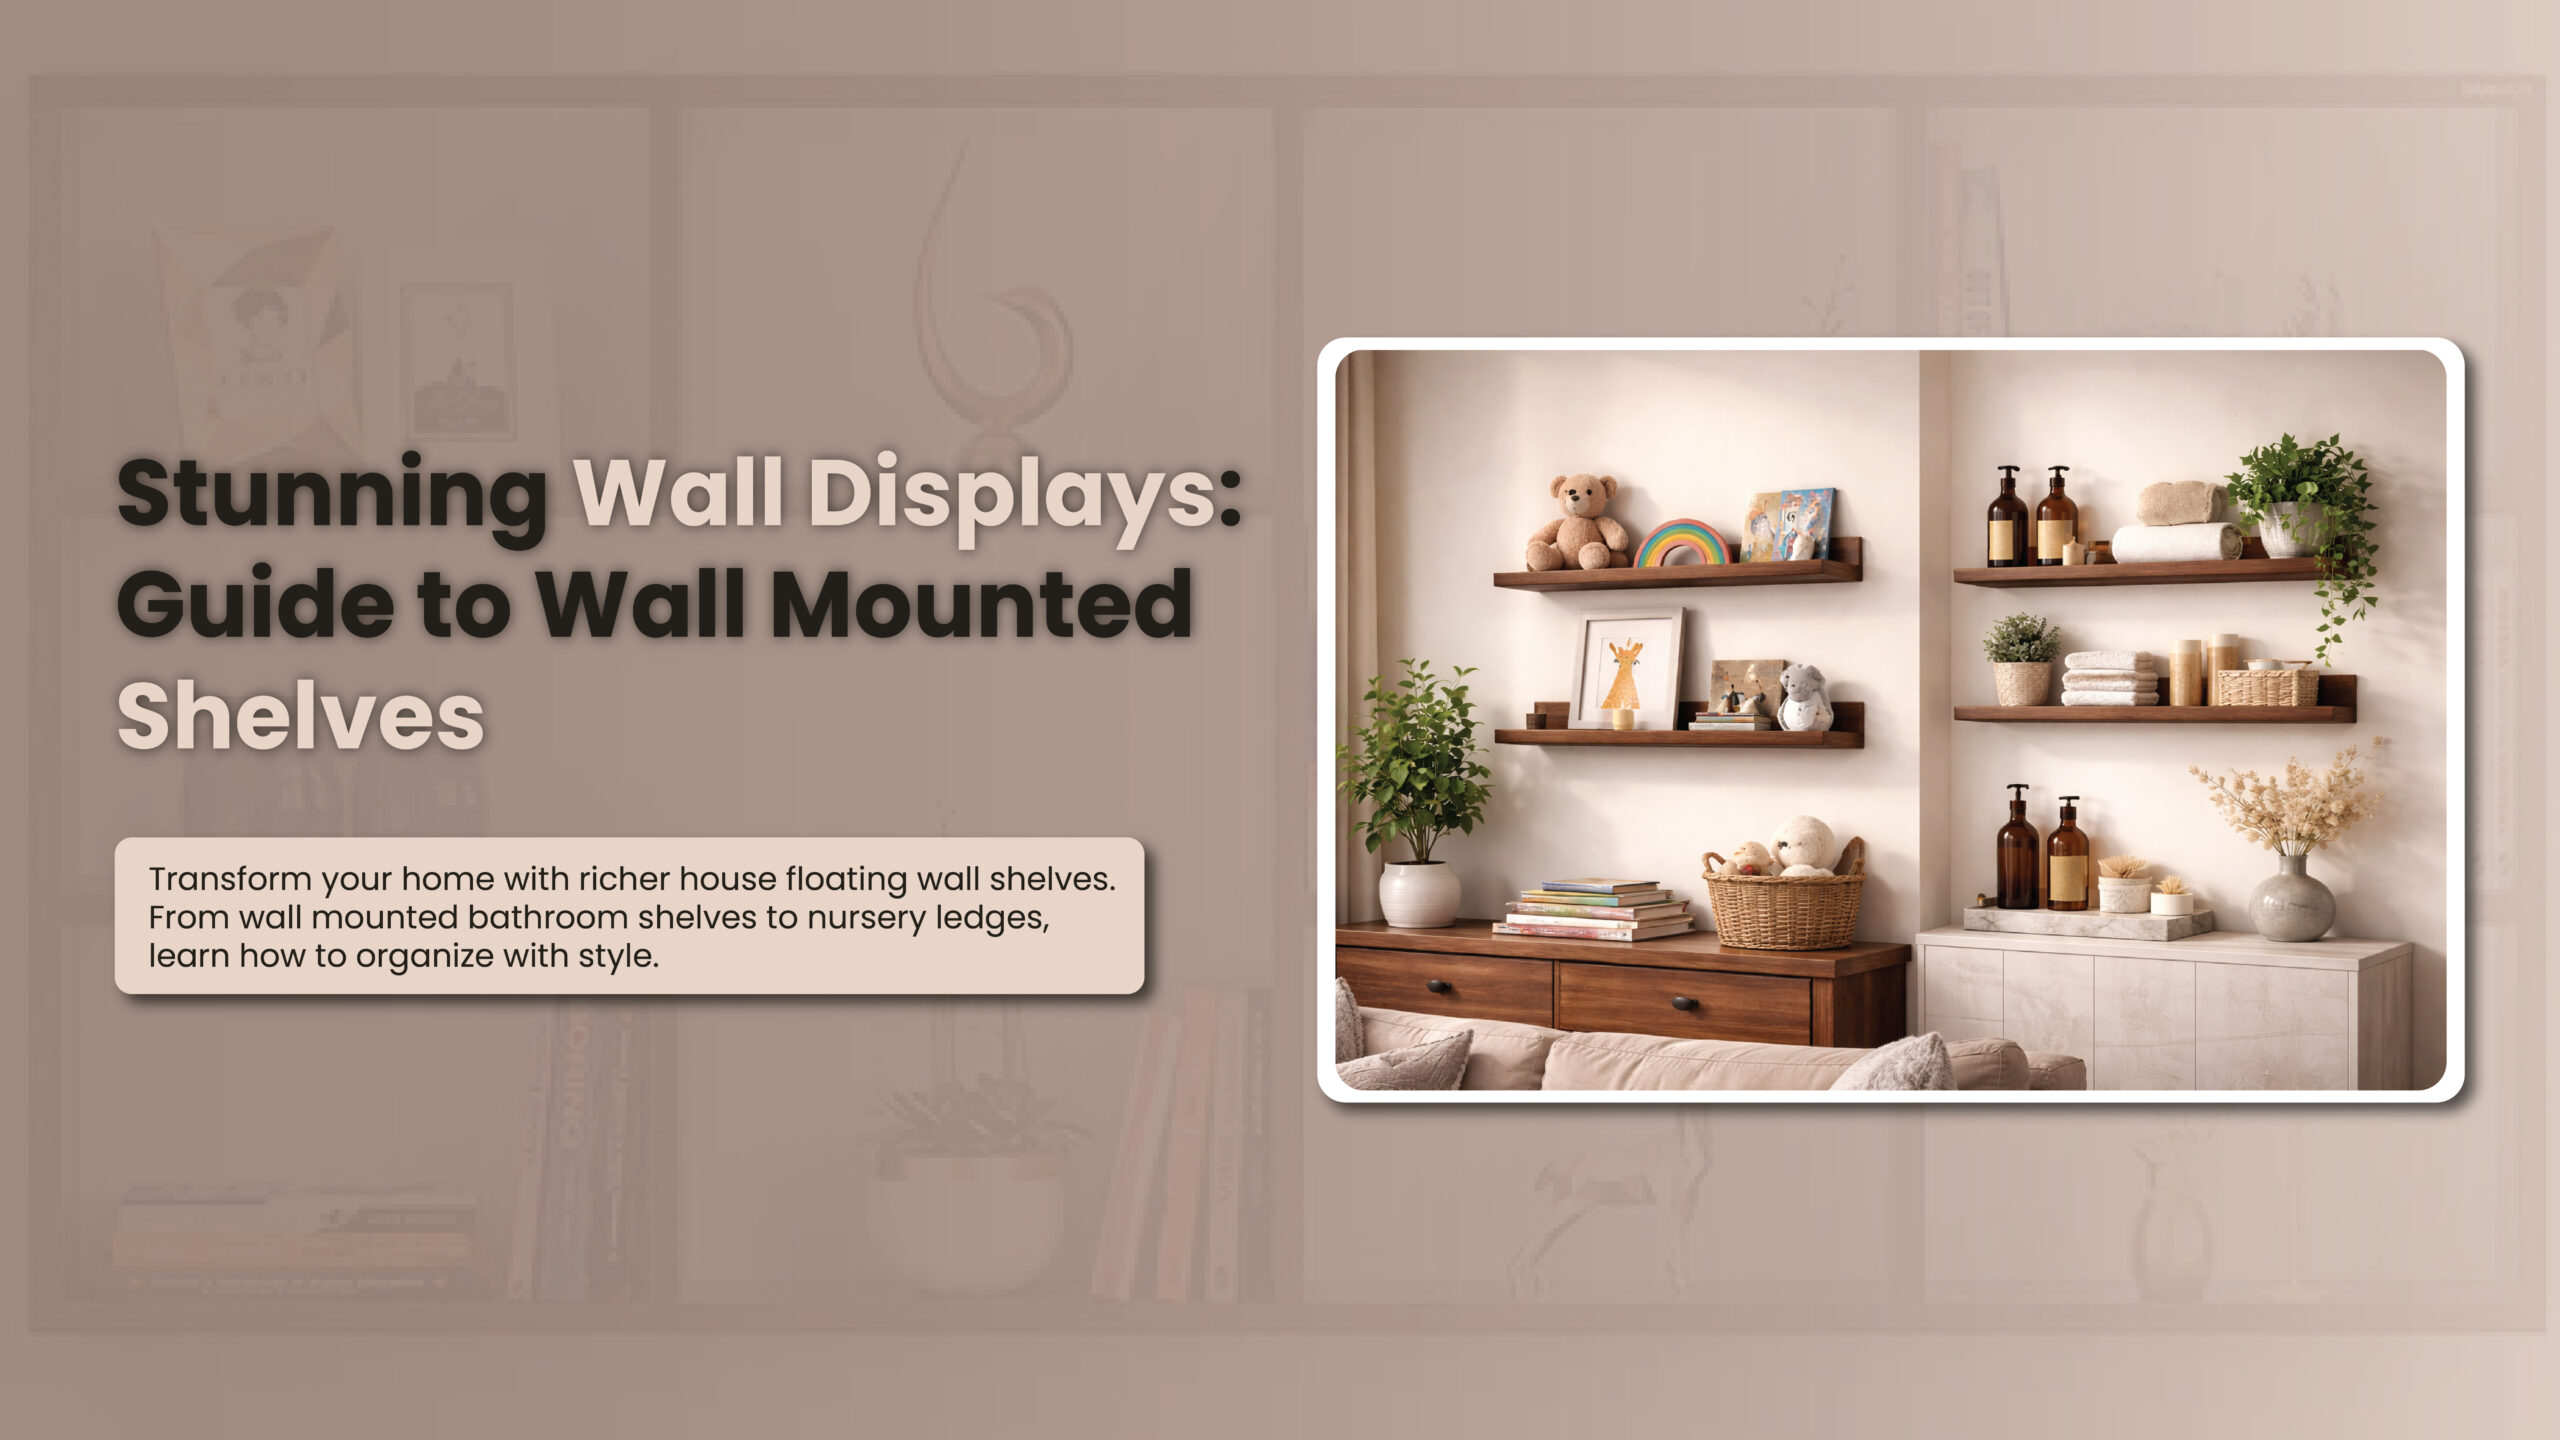
Specifically, the RICHER HOUSE 5 Set Floating Wall Mounted Shelves. These aren’t just planks of wood; they are a versatile tool for transforming your home’s aesthetic while solving legitimate storage problems. Whether you are a minimalist, a collector, or a parent trying to organize a nursery, these shelves are the design hack you have been waiting for.
In this guide, we are going to walk you through exactly how to build a stunning wall display that maximizes space, elevates your decor, and keeps your items safe.
Why Choose Lipped Ledge Shelves?
Before we dive into the styling, it is important to understand why the RICHER HOUSE shelves are superior to standard flat boards.
The “Item Dropping Guard” Factor
Most floating shelves are completely flat. If you walk by them too quickly, or if a door slams, pictures can slide, and vases can tip. The defining feature of the RICHER HOUSE set is the lipped ledge. This front lip acts as a guard rail, keeping your contents secure.
This is a game-changer for high-traffic areas or homes with pets and kids. It allows you to display:
- Glass perfume bottles.
- Framed photos that lean rather than hang.
- Heavy shampoos or lotions.
- Fragile collectibles.
Impressive Weight Capacity
Despite their sleek, minimalist look, these shelves are workhorses. Made of sturdy composite wood, each board can hold up to 20 lbs. That means you aren’t limited to a featherlight faux flower; you can store stacks of books, heavy ceramic planters, or large trophy collections without fear of the shelf sagging or detaching.
“Worth Every Penny” Value
Usually, when you buy shelves, you get one or two in a pack. RICHER HOUSE creates a massive value proposition by including 5 sets of the same size (15.6 x 5.6 x 1.8 inches) in one purchase. This allows you to create an “entire wall of art” instantly, rather than buying multiple packs to get the look you want.
Step 1: Choosing Your Aesthetic
The first step in building your display is selecting the right finish. Because these shelves come in Black, Brown, Grey, Oak, Walnut, and White, they fit into almost any design philosophy.
- The Modern Minimalist: Go with White or Black. If your walls are white, white shelves create a “ghost” effect where the items seem to float. Black adds a sharp, graphic contrast that looks like a line drawing on the wall.
- The Farmhouse Lover: Oak or Grey finishes are perfect here. They add texture and warmth, complementing rustic decor, woven baskets, and greenery.
- The Mid-Century Modern Vibe: Walnut is the classic choice for this style. It feels rich, expensive, and pairs beautifully with brass accents or retro vinyl record covers.
Step 2: Planning Your Layout
Because you have 5 shelves to work with, you have endless layout possibilities. Don’t just slap them on the wall—plan your design!
The “Gallery Wall” Ladder
This is the most popular choice for living rooms. Install the shelves one above the other with about 10 to 12 inches of vertical space between them. This draws the eye upward, making your ceilings look higher. This is perfect for displaying a large collection of photos or vinyl records.
The Staggered Step
For a more dynamic, playful look, install the shelves in a zig-zag or step pattern. This works exceptionally well in hallways or wider walls where you want to create movement.
The Symmetrical Split
If you are flanking a TV or a mirror, use two shelves on the left and two on the right (and save the fifth one for another room!). This creates balance and symmetry, which is very pleasing to the eye.
Step 3: Room-by-Room Styling Ideas
The “Wide Application” of the RICHER HOUSE shelves means they aren’t just for the living room. Here is how to utilize them in every room of the house.
1. The Nursery: The Safety-First Bookshelf
Parents love these shelves. Why? Because floor-standing bookshelves take up play space and can be tipping hazards.
Mount these shelves low on the wall so your toddler can reach them, or high up to display keepsakes. The Item Dropping Guard ensures that heavy board books won’t slide off onto the crib or the floor.
- What to display: Colorful children’s books (face out), soft plush toys, and baby monitors.
2. The Kitchen: The “Chef’s Helper” Spice Rack
Cabinet space is prime real estate in a kitchen. Move your spices, oils, and small jars onto the wall. The 5.6-inch depth is spacious enough for even larger olive oil bottles or mason jars.
- Pro Tip: Organize your spices by color or transfer them into matching glass jars for a Pinterest-worthy look. The lip ensures that glass jars won’t vibrate off the shelf when the dishwasher is running.
3. The Bathroom: Over-the-Toilet Storage
Small bathrooms suffer from a lack of storage. The empty wall space above the toilet is the perfect spot for 2 or 3 of these shelves.
- What to display: Rolled hand towels, spare toilet paper rolls, reed diffusers, and your daily skincare routine. It keeps your sink counter clear and clutter-free.
4. The Living Room: The Rotating Gallery
The beauty of a picture ledge is that you don’t have to hammer a nail every time you want to change a picture. You simply lean the frame against the wall on the shelf.
- Idea: Swap your photos seasonally! Family beach photos in the summer, and holiday art in the winter. You can also mix in vinyl records to show off your “Now Playing” album.
Step 4: Installation Made Easy
A common fear with wall-mounted decor is the installation process. The RICHER HOUSE shelves are designed for easy installation and include all the necessary hardware.
What you need:
- A level (to ensure your display isn’t crooked).
- A drill (or a screwdriver and some elbow grease).
- A pencil.
- The included hardware kit.
The Process:
- Map it out: Before drilling, hold the shelves up (or use painter’s tape) to visualize where you want the 5 boards to go.
- Mark the holes: Use the pre-drilled holes in the shelf as a template to mark your wall with a pencil.
- Secure the anchors: If you aren’t drilling into studs, use the provided wall anchors. This is crucial for achieving that 20 lbs weight capacity.
- Mount: Screw the shelves into place.
Because the shelves are Handmade with Love, the composite wood is sturdy and the mounting system is flush, ensuring the shelf hugs the wall tightly without wobbling.
Step 5: The Art of “The Shelfie” (Styling Tips)
Now that your shelves are up, how do you make them look like a magazine spread rather than a storage locker? Follow these design rules:
The Rule of Three
Odd numbers are visually more appealing than even numbers. Group items in threes. For example, place a tall vase, a medium picture frame, and a small candle together on one shelf.
Layering Depth
Don’t just line things up in a single row. Lean a large picture frame against the back of the shelf, and place a smaller object (like a succulent or a small clock) in front of it. The 1.8-inch lip allows you to layer items without the front items falling off.
Mixing Textures
If your shelves are Oak or Walnut, add contrasting materials like glass, ceramic, or metal. If your shelves are White or Black, add warmth with wood picture frames or small woven baskets.
Leave Negative Space
Just because you have ample storage space doesn’t mean you have to fill every inch. Leave some gaps between items. Negative space allows the eye to rest and makes the display look intentional, not cluttered.
Troubleshooting Common Storage Woes
Problem: My cats knock everything over.
Solution: The RICHER HOUSE shelves are cat-resistant thanks to the lip. While a determined cat can push things, the lip makes it much harder for them to casually swipe a glass of water or a photo frame off the edge.
Problem: I rent my apartment.
Solution: These shelves require minimal holes in the wall compared to installing heavy cabinets. Because they are lightweight yet sturdy, they are much easier to patch and paint over when you move out.
Problem: My collection is too heavy.
Solution: Many floating shelves sag with just a few books. Because of the sturdy composite wood construction and quality hardware, you can confidently stack heavy hardcovers or vinyl records up to the 20-pound limit per shelf.
Conclusion:
Your walls are the biggest blank canvas in your home. By ignoring them, you are wasting valuable square footage that could be used for organization and expression.
The RICHER HOUSE 5 Set Floating Wall Mounted Shelves offer the perfect intersection of form and function. They are robust enough to hold your kitchen essentials, safe enough for your baby’s nursery, and stylish enough to be the focal point of your living room. Whether you choose the sleek Black, the warm Walnut, or the crisp White, you are investing in a product that is, quite literally, worth every penny. Don’t let your clutter take over your floor. Look up, pick a wall, and start building your stunning display today. With easy installation and endless versatility, your home makeover is just a few screws away.
Frequently Asked Questions (FAQs)
Q: What are the exact dimensions of the shelves?
A: Each shelf in the 5-pack set is the same size: 15.6 inches long, 5.6 inches deep, and 1.8 inches high.
Q: Can these shelves be used in a bathroom?
A: Yes! They are perfect for bathrooms. The composite wood is durable, and they are excellent for holding toilet paper, lotions, and air fresheners.
Q: Is the hardware included?
A: Yes, the set includes all necessary mounting hardware for easy installation.
Q: How much weight can one shelf hold?
A: When installed correctly, each individual board can hold up to 20 lbs.
Q: Are the shelves hard to clean?
A: Not at all. A simple wipe with a dry or slightly damp cloth will keep your shelves looking brand new.

