
Table of Contents:
Introduction:
Press on nails are a quick way to get a salon style manicure at home. Many people enjoy how easy they are to apply, but removal often causes the most trouble. Pulling a nail off too quickly can peel layers from your natural nail. This guide from Freaky Thread shows you how to remove press on nails at home safely.
The best removal method depends on the adhesive you used to apply your set. Adhesive tabs, gel glue, and liquid nail glue each need a slightly different approach. Using the wrong technique can leave your nails weak, dry, and sore for weeks. Once you know what to use, the whole process becomes calm and simple.
This article covers everything you need to know before you begin removing your set. You will learn why safe removal matters and which tools make the job easier. We also explain how to remove press on nail glue and how to take off popular brands. Follow each step slowly, and your natural nails will thank you later.
Why Safe Removal Matters:
Ripping off press on nails is a common cause of nail damage after a manicure. The glue bonds tightly to the surface of your natural nail. Forcing the nail off can pull away thin layers of keratin along with it. This leaves the nail plate thin, rough, and more likely to split.
Your skin can also suffer when you rush the removal process. Prying at the edges may cause small tears around the cuticles and sidewalls. These tiny wounds can sting, bleed, and become irritated if they stay dry. Gentle removal keeps the skin around your nails calm and comfortable.
Safe removal also helps you protect the press on nails themselves. If the nails come off in one piece, you may be able to reuse them. Start by checking which adhesive you used, since that choice guides every step. Taking a few extra minutes now saves your nails from weeks of recovery.
Tools and Supplies You Need Before You Start:
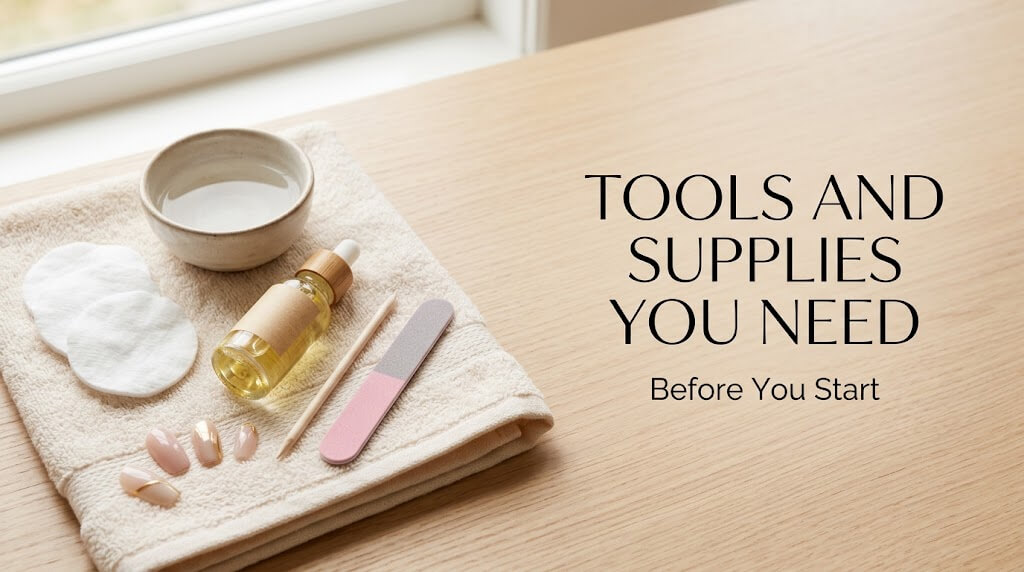
A little preparation makes it much easier to remove press on nails at home. For most sets, you only need warm water, mild soap, and a bowl. A wooden cuticle stick or a soft cuticle pusher helps lift the nail gently. Avoid metal tools with sharp edges because they can scratch your natural nail.
Stronger adhesives need a few extra supplies to dissolve the bond properly. Pure acetone, cotton pads, and a soft nail file are the usual choices. You can also buy a dedicated press on nail remover designed for gel glue. Keep cuticle oil nearby so you can nourish your nails right afterward.
Set up your workspace before you start so everything stays within reach. Acetone has a strong smell, so work in a well ventilated room. Place a towel on your table because acetone can damage some surfaces. Give yourself enough time, since rushing is where most mistakes happen.
You May Also Like:
How to Remove Press On Nails with Adhesive Tabs:
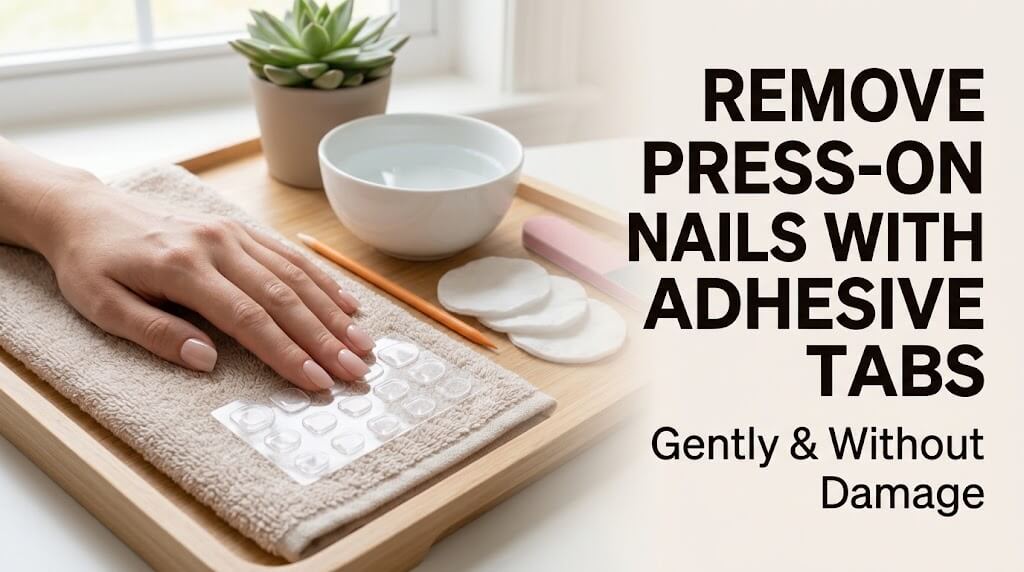
Adhesive tabs are the easiest option when you want to remove press on nails. They hold well for several days but release easily once water reaches the bond. This method works best for sensitive nails and for short term wear. Most people finish the whole process in about five to ten minutes.
Start by filling a bowl with warm, soapy water that feels comfortable on your skin. Soak your fingertips for about three to five minutes to soften the adhesive. Then wiggle each nail gently from side to side until it begins to loosen. If a nail feels stuck, return it to the water for another minute.
Once the edge lifts, slide a cuticle pusher underneath and glide it across slowly. Never pry upward, because that motion can tear the natural nail surface. Peel away any leftover tab residue with your fingers or the soft pusher. Finish by massaging cuticle oil into each nail and the surrounding skin.
You May Also Like:
How to Remove Press On Nail Glue (Gel Glue and Liquid Glue):
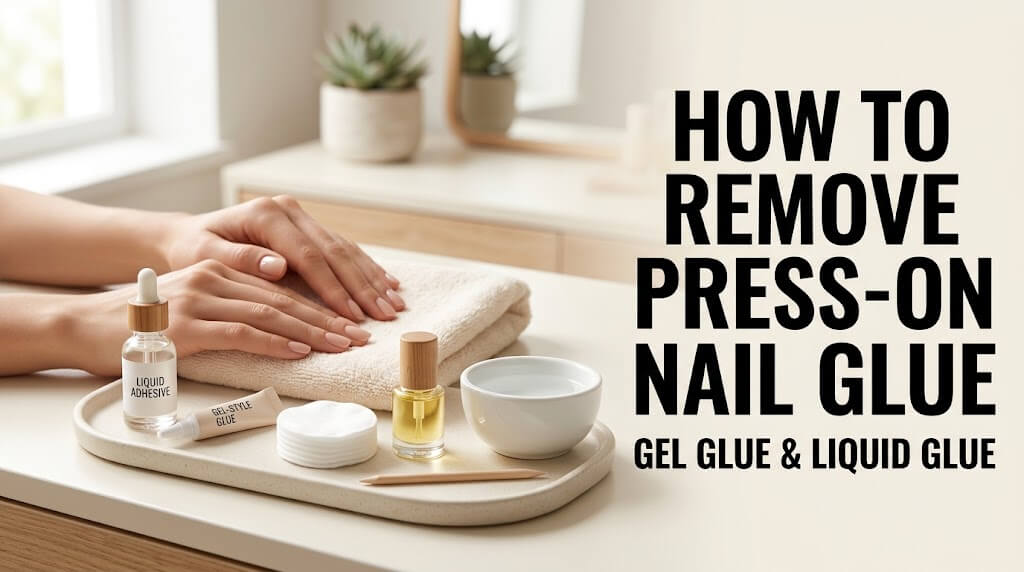
Glue creates a much stronger bond than tabs, so it needs more care to remove. Gel glue usually holds for two to three weeks and responds well to remover. Liquid nail glue can last even longer and often requires an acetone soak. Knowing which one you used tells you exactly how to remove press on nail glue.
For gel glue, press a cuticle pusher gently along the sides to create a small gap. Apply press on nail remover under the edge and wait about ten seconds. Lift the nail slowly from the sides and tip, working with patience. Repeat the same steps on each finger rather than rushing through them.
For liquid glue, soak a cotton pad in pure acetone and place it on the nail. Keep it there for fifteen to twenty minutes so the glue can soften fully. Then nudge the nail upward from the cuticle side using a wooden stick. Buff away leftover glue lightly, then wash your hands and apply plenty of oil.
You May Also Like:
How to Remove Olive and June Press On Nails:
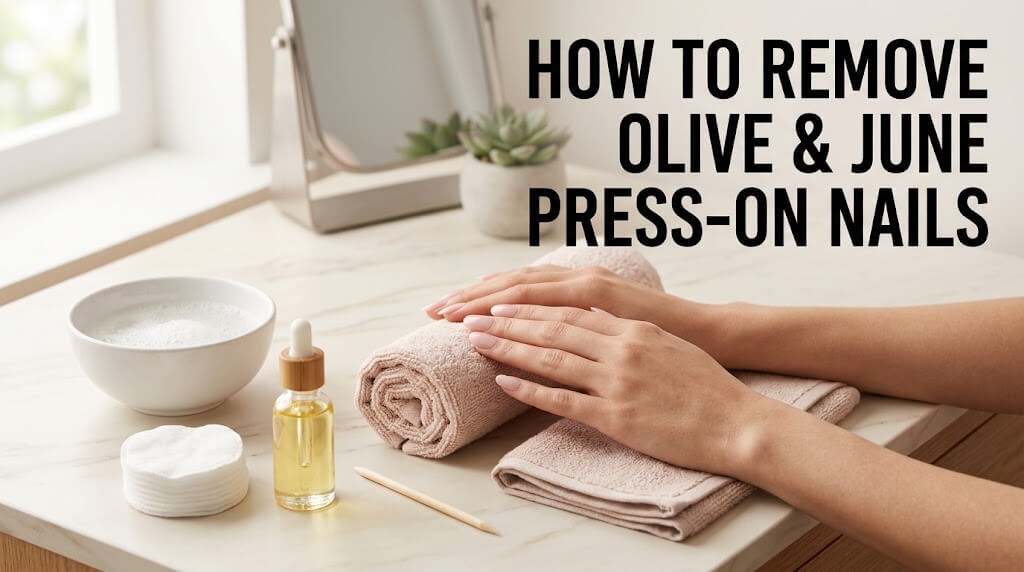
Olive and June sells press on nail sets that can be applied with tabs or glue. The right removal steps depend on which of those two options you chose. Check your kit packaging if you are unsure which adhesive you used.
If you used tabs, soak your hands in warm soapy water for several minutes. Loosen each nail gently and slide a cuticle stick underneath to release it. If you used glue, follow the gel glue or liquid glue steps from above. Stay patient, because forcing a stubborn nail only increases the risk of damage.
Take your time if you want to reuse your Olive and June nails again. Remove any leftover tab or glue from the underside using a gentle touch. Store the clean nails in their original case so they keep their shape. This simple habit lets you enjoy the same set for several more wears.
You May Also Like:
How to Remove Kiss Press On Nails:
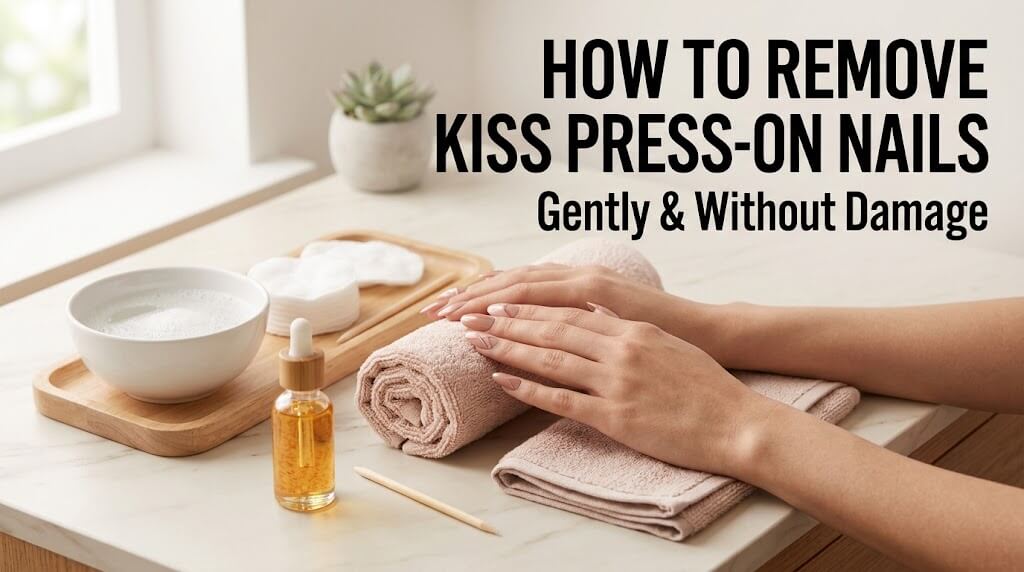
Kiss sells several press on nail lines, and the removal steps vary slightly between them. Many pre-glued styles use a sticky adhesive that softens with warm, soapy water. Styles applied with included nail glue behave more like the glue methods above. Check the packaging first so you know which approach fits your set.
To remove Kiss press on nails with sticky adhesive, soak your hands in warm soapy water. Give them about ten minutes so the adhesive has time to loosen. Slide a cuticle stick under each edge and lift the nail very gently. Wipe away any sticky residue with a little oil or a soft cloth.
For sets applied with glue, use remover or acetone as described earlier. Avoid the common mistake of pulling the nail straight off the finger. Skipping the soak is another error that often leads to peeling and soreness. Slow, steady removal keeps your nails healthy for your next manicure.
You May Also Like:
Conclusion:
Learning how to remove press on nails safely protects both your nails and your skin. The adhesive you chose decides the method, whether tabs, gel glue, or liquid glue. Soak, loosen, and lift gently instead of pulling or prying at any stage. These small habits make removal at home easy, calm, and surprisingly quick.
Aftercare is just as important as the removal step itself. Apply cuticle oil and a rich hand cream right after you finish. If your nails feel thin, give them a short break before the next set. Keeping them hydrated helps them grow back stronger and smoother over time.
We hope this guide from Freaky Thread makes your next removal stress free. Bookmark it so you can return whenever you need a quick refresher. With patience and the right tools, you can enjoy press on nails without worry. Your natural nails deserve the same care you give your favorite manicure.


