
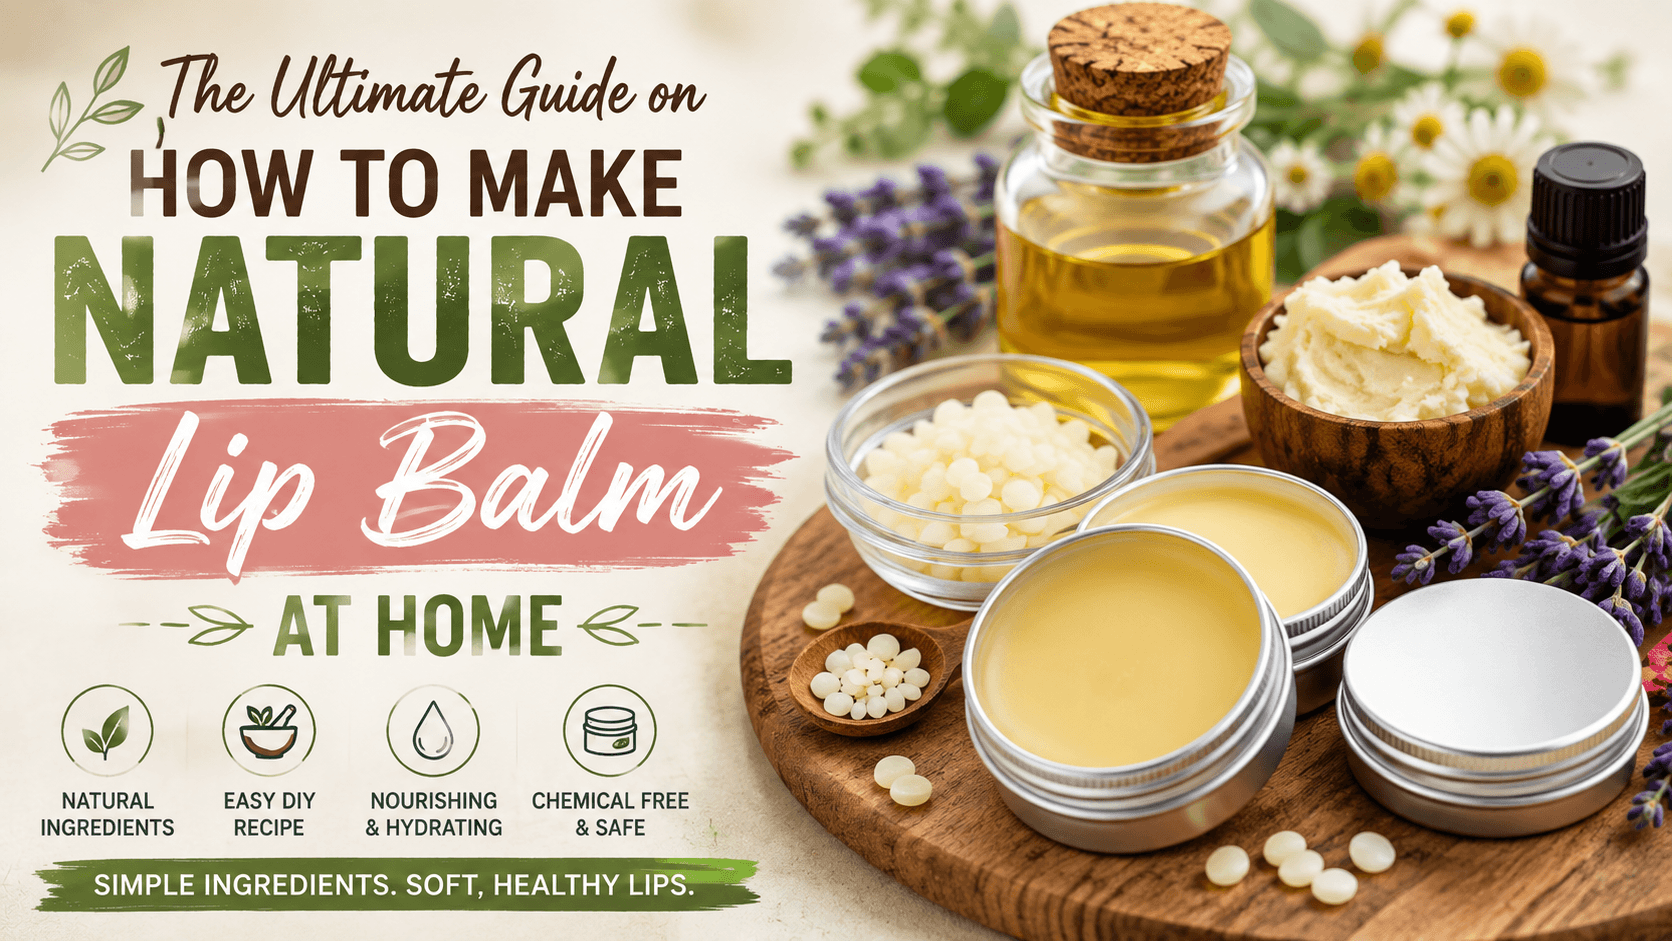
Table of Contents:
- Introduction
- Why Skip Store Bought and Switch to Natural Lip Care
- Essential Ingredients for a Nourishing DIY Lip Balm
- Step by Step Instructions for Your First Batch
- Customizing Your Recipe with Essential Oils and Tints
- Common Mistakes to Avoid During the Process
- Packaging and Storing Your Homemade Lip Balm
- Conclusion
Introduction:
Soft and healthy lips often begin with simple ingredients instead of complicated cosmetic formulas. Learning how to make natural lip balm at home gives you complete control over everything touching your skin. You can choose nourishing oils, natural waxes, and gentle scents without worrying about unnecessary additives or artificial preservatives. Many homemade recipes are also affordable, making them perfect for anyone seeking healthier skincare options.
At Freaky Thread, we believe effective beauty products do not need to contain questionable ingredients or expensive branding. A homemade lip balm offers hydration, protection, and customization while allowing you to understand exactly what goes into every batch. Whether you are creating lip balm for personal use or thoughtful gifts, this guide explains every important step with practical advice and proven techniques.
Why Skip Store Bought and Switch to Natural Lip Care:

Many commercial lip balms promise long lasting moisture, yet some users feel their lips become drier after repeated applications. While many products are safe, certain formulas rely heavily on synthetic fragrances, flavorings, or ingredients that may not suit every individual. Making your own lip balm lets you choose gentle, moisturizing ingredients that support your skin instead of relying on unnecessary additives.
Another important reason to switch involves ingredient transparency and personal preference. Lip products are naturally swallowed in tiny amounts throughout daily use. Although cosmetic ingredients must meet safety regulations, some people prefer avoiding artificial colors, fragrances, or petroleum derived ingredients whenever possible. Homemade lip balm removes the guesswork because every ingredient is selected by you.
Natural lip care also supports sustainability and cost savings over time. Purchasing ingredients in bulk allows you to create multiple batches using reusable tins or tubes. This approach reduces packaging waste while giving you complete freedom to adjust every recipe according to seasonal weather, skin sensitivity, or personal preferences without sacrificing product quality.
Essential Ingredients for a Nourishing DIY Lip Balm:

Understanding the purpose of every ingredient creates a better finished product with consistent results. Beeswax provides structure while creating a protective barrier that helps reduce moisture loss from the lips. Plant based alternatives, including candelilla wax or carnauba wax, work well for vegan recipes. Carrier oils such as sweet almond, jojoba, coconut, or olive oil provide softness and lasting hydration.
Balancing solid waxes with liquid oils often challenges beginners during their first attempt. Too much wax creates a hard balm that drags across the lips, while excessive oil produces a soft formula that melts easily. A reliable starting ratio uses one part wax, one part butter, and two parts carrier oil. Small adjustments help create your preferred texture after testing each batch.
Natural butters such as shea butter or cocoa butter add extra nourishment and improve the creamy texture. Vitamin E oil works as an antioxidant that helps slow oxidation of the oils, although it does not replace proper storage practices. People with allergies should carefully review every ingredient before use because even natural products may trigger reactions in sensitive individuals. Performing a small patch test before regular application remains a wise precaution.
Step by Step Instructions for Your First Batch:

Gather all ingredients, measuring tools, containers, and stirring utensils before starting the preparation process. Fill a small saucepan with water and place a heat safe measuring cup or bowl above the water to create a gentle double boiler. This method melts ingredients evenly while reducing the chance of overheating delicate oils or damaging kitchen cookware through direct heat exposure.
Combine the beeswax, shea butter, and carrier oil inside the double boiler while stirring occasionally. Once everything becomes completely melted, remove the container from the heat before adding vitamin E oil or essential oils. Heat can reduce the fragrance strength of essential oils, making this timing more effective. Stir the mixture thoroughly until every ingredient blends into a smooth liquid without visible separation.
Prepare empty tins or lip balm tubes before removing the mixture from heat because it begins solidifying quickly. Carefully pour the liquid using a small pouring jug, measuring cup, or disposable pipette to minimize spills. Leave the containers untouched for approximately one hour until the balm completely cools and hardens. Once finished, test the texture and adjust future batches if necessary.
You May Also Like:
Customizing Your Recipe with Essential Oils and Tints:

Homemade lip balm becomes even more enjoyable when customized with natural scents and gentle colors. Essential oils such as peppermint, lavender, sweet orange, or vanilla provide pleasant aromas using very small quantities. Most lip balm recipes require only one or two drops per small batch because concentrated essential oils may irritate sensitive skin when overused.
Creating subtle natural color avoids artificial cosmetic dyes while maintaining an attractive appearance. Cosmetic grade mica powders provide shimmer in many shades, while beetroot powder, alkanet root infused oil, or cocoa powder may create gentle earthy tones. Always choose ingredients intended for cosmetic applications whenever possible because food coloring performs poorly inside oil based formulations.
Experiment gradually while recording every ingredient measurement inside a notebook for future reference. Small adjustments produce noticeable differences in firmness, scent, and appearance without wasting expensive ingredients. Testing several tiny batches proves more effective than creating one large batch because mistakes remain inexpensive while helping develop the perfect personalized recipe.
You May Also Like:
Common Mistakes to Avoid During the Process:

Grainy or uneven texture often results from butters cooling too slowly or experiencing repeated temperature changes after melting. Melting the entire mixture completely before cooling helps reduce this problem. If graininess develops, simply remelt the balm gently and allow it to cool naturally at room temperature without unnecessary disturbance.
Another frequent mistake involves creating formulas that soften excessively during warm weather. Too much liquid oil reduces stability, allowing the finished balm to melt quickly inside pockets or handbags. Increasing the wax slightly or reducing liquid oil creates a firmer product that withstands higher temperatures while remaining comfortable during application.
Using excessive fragrance, colorants, or unnecessary additives also reduces overall product quality. Strong scents may irritate delicate lips instead of providing comfort, especially for individuals with sensitive skin. Following recommended usage levels and introducing only one new ingredient at a time makes troubleshooting much easier whenever unexpected issues appear after preparation.
You May Also Like:
Packaging and Storing Your Homemade Lip Balm:

Selecting suitable containers protects both product quality and convenience during everyday use. Lip balm tubes remain ideal for daily portability, while small metal tins work perfectly for homemade gifts or larger family batches. Sterilizing containers with warm soapy water and allowing them to dry completely before filling helps reduce unnecessary contamination during the packaging process.
Filling tiny containers sometimes feels challenging because the liquid mixture cools surprisingly fast after melting. Using a small pouring pitcher, silicone measuring cup, or disposable pipette provides greater control while minimizing spills. Working steadily instead of rushing usually creates cleaner results with significantly less wasted product around the work surface.
Store finished lip balm inside a cool, dry location away from direct sunlight and excessive heat exposure. Homemade lip balm generally remains fresh for approximately six to twelve months, depending upon the freshness of the ingredients and storage conditions. If the balm develops an unusual smell, visible mold, or changes in texture, discard it immediately and prepare a fresh batch using high quality ingredients.
You May Also Like:
Conclusion:
Learning how to make natural lip balm at home combines creativity with practical skincare benefits for every season. You gain complete control over every ingredient while avoiding unnecessary additives that may not suit your personal preferences. Simple adjustments allow you to create formulas perfectly suited for dry winter weather, sensitive lips, or thoughtful handmade gifts.
With patience and consistent practice, each batch becomes smoother, more nourishing, and better suited to your individual needs. Following proper measurements, careful storage practices, and quality ingredients ensures excellent results every time. At Freaky Thread, we encourage readers to embrace simple DIY beauty solutions that deliver reliable performance while supporting healthier skincare habits through informed ingredient choices.


