
Introduction:
Clean grout can make tiled floors and walls look noticeably brighter and better maintained. However, grout lines often collect dirt because they sit slightly below surrounding tile surfaces. Dust, spills, moisture, grease, and everyday foot traffic gradually make grout appear darker. Regular cleaning can remove this buildup while helping your tiled surfaces maintain their attractive appearance. If you have wondered how to clean grout lines effectively, the process is easier than expected. This guide from Freaky Thread explains practical methods for cleaning grout safely and efficiently.
The right cleaning method depends on the grout condition, tile material, and type of staining. Cement-based grout can absorb liquids and hold dirt because it contains porous materials. Epoxy grout generally provides stronger resistance against moisture, stains, chemicals, and everyday abrasion. Therefore, identifying your grout type can help you choose an appropriate cleaning approach. Always check manufacturer recommendations before applying unfamiliar cleaning products across large tiled areas.
You also need suitable tools because aggressive cleaning can damage grout and surrounding tiles. Soft brushes, toothbrushes, warm water, and appropriate household cleaners are generally useful options. The goal should be removing accumulated dirt without unnecessarily wearing down the grout surface. With the correct preparation, cleaning technique, and regular maintenance, grout can remain cleaner. The following sections explain how to clean grout lines using practical household methods.
Why Do Grout Lines Get Dirty and Dark?
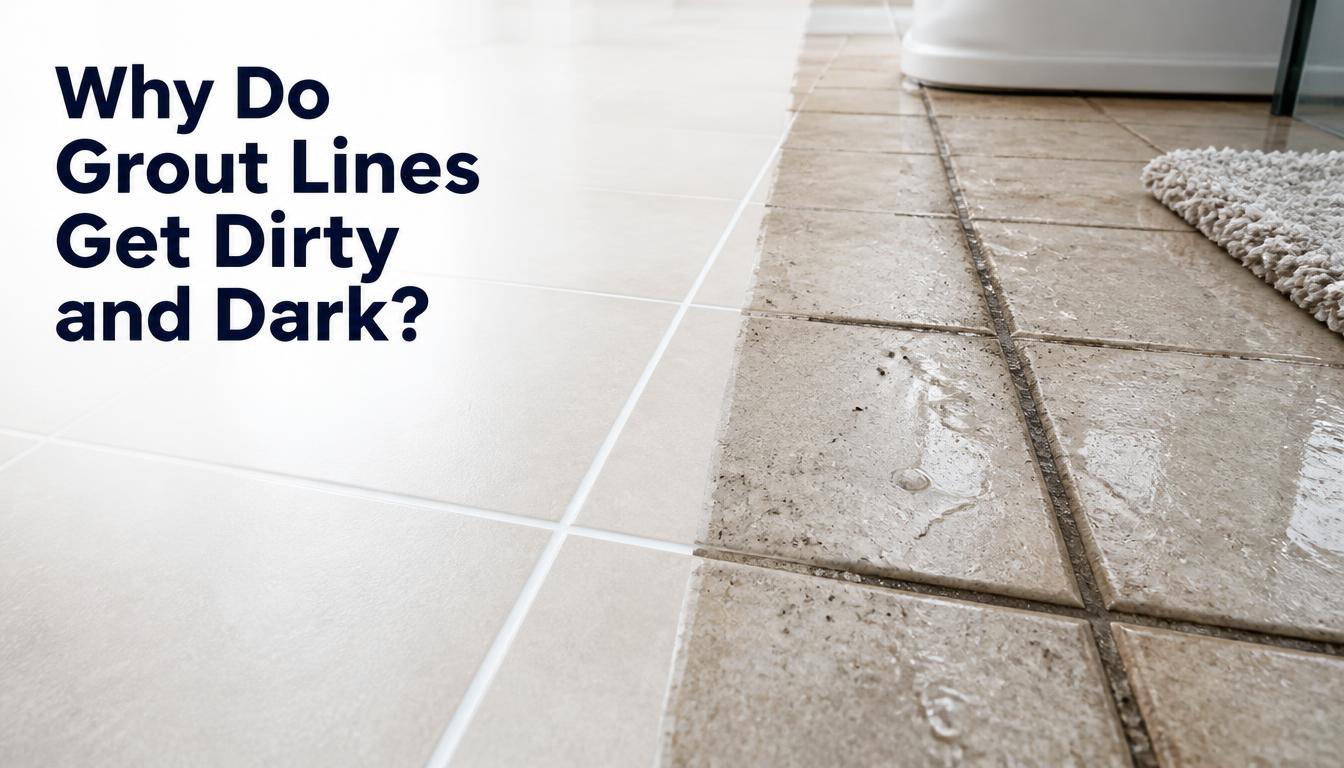
Grout lines commonly become darker because they collect contaminants more easily than tile surfaces. Their slightly recessed position allows dust and debris to settle inside narrow joints. Regular sweeping removes much surface dirt but may leave deposits inside grout lines. Over time, repeated exposure can create noticeable discoloration across an entire tiled floor. This problem becomes especially visible when light-colored grout surrounds darker or patterned tiles.
Moisture can also contribute significantly to darkened grout, particularly inside bathrooms and kitchens. Persistent dampness creates conditions where mold can develop on suitable surfaces. Cooking areas may additionally expose grout to grease and airborne food residue. Bathrooms can experience soap residue, humidity, and water deposits around frequently used surfaces. These contaminants can combine with ordinary dirt, creating stubborn-looking grout that needs deeper cleaning.
Cleaning products themselves can sometimes contribute to grout problems when used improperly. Harsh products may damage certain grout surfaces or surrounding tile finishes. Using excessive force can similarly wear away vulnerable grout over time. For this reason, effective cleaning does not necessarily mean using stronger chemicals. Gentle products, suitable brushes, and consistent maintenance often provide a safer overall approach.
You may also like:
What You Need Before Cleaning Grout Lines:

Before learning how to clean tile grout, gather your cleaning supplies carefully. A soft grout brush or old toothbrush can provide enough scrubbing power. You may also need warm water, microfiber cloths, and a suitable cleaning solution. Baking soda can help create a gentle paste for addressing ordinary surface buildup. A spray bottle can also make applying diluted solutions easier across larger areas.
Always consider the tile manufacturer’s cleaning recommendations before choosing household ingredients or commercial cleaners. Different tile materials can respond differently to acidic or abrasive cleaning products. Test any unfamiliar solution on a small, inconspicuous area before treating everything. This simple precaution can help identify unwanted discoloration or surface reactions early. It also allows you to adjust your cleaning method before covering larger surfaces.
Avoid preparing several chemical cleaners together because certain combinations can produce dangerous fumes. Bleach should never be mixed with ammonia or other household cleaning products. Good ventilation is also important when using cleaning products inside enclosed bathrooms. Open windows or use suitable exhaust ventilation whenever the cleaning product requires it. Wearing appropriate gloves can additionally protect your hands during extended cleaning sessions.
You may also like:
How to Clean Grout Lines on Floor Tiles:

Start by removing loose dust, hair, crumbs, and other debris from your floor. Vacuuming or sweeping first prevents loose dirt from becoming muddy during wet cleaning. Next, prepare a suitable cleaning solution according to your chosen method. Apply the solution carefully along the grout rather than flooding the entire floor. Working in small sections makes it easier to monitor cleaning progress.
Allow the cleaning solution enough time to loosen surface dirt before scrubbing. The required time depends on the product and the level of staining. For a baking soda paste, the reference method recommends approximately twenty minutes. After allowing the solution to work, gently scrub each grout line. Use controlled movements instead of applying excessive pressure across vulnerable joints.
Once the dirt loosens, wipe the treated area using a clean damp cloth. Rinse away remaining cleaner because leftover residue can attract dirt or affect surfaces. Follow the tile manufacturer’s instructions when determining appropriate rinsing requirements. After rinsing, dry the floor thoroughly using a clean microfiber cloth. Proper drying also helps reduce unnecessary moisture that can encourage recurring mold growth. Repeat the process on heavily stained areas when necessary.
You may also like:
How to Clean Grout Between Tiles Using Different Methods:

Baking soda provides a simple option when you need to clean moderately dirty grout. Mix baking soda with water until you create a spreadable cleaning paste. Apply the paste directly along the affected grout lines using a suitable brush. The reference article recommends allowing the mixture to sit before wiping it away. This method can work well when ordinary dirt causes the grout to look dull.
Diluted white vinegar is another commonly discussed household approach for cleaning grout. However, vinegar is acidic, so you should verify compatibility with your tile first. Avoid assuming every tile or grout material responds safely to acidic solutions. Hydrogen peroxide is another option mentioned in the reference cleaning guidance. Always follow product instructions and use appropriate ventilation when handling cleaning solutions.
Steam cleaning can loosen stubborn dirt without requiring traditional chemical cleaning products. The reference article identifies steam as an effective approach for difficult grout stains. However, steam equipment should always be used according to its manufacturer’s instructions. Direct excessive heat or prolonged moisture exposure may not suit every surface. After cleaning, wipe away loosened residue and allow the area to dry thoroughly.
You may also like:
Common Mistakes to Avoid When Cleaning Grout:
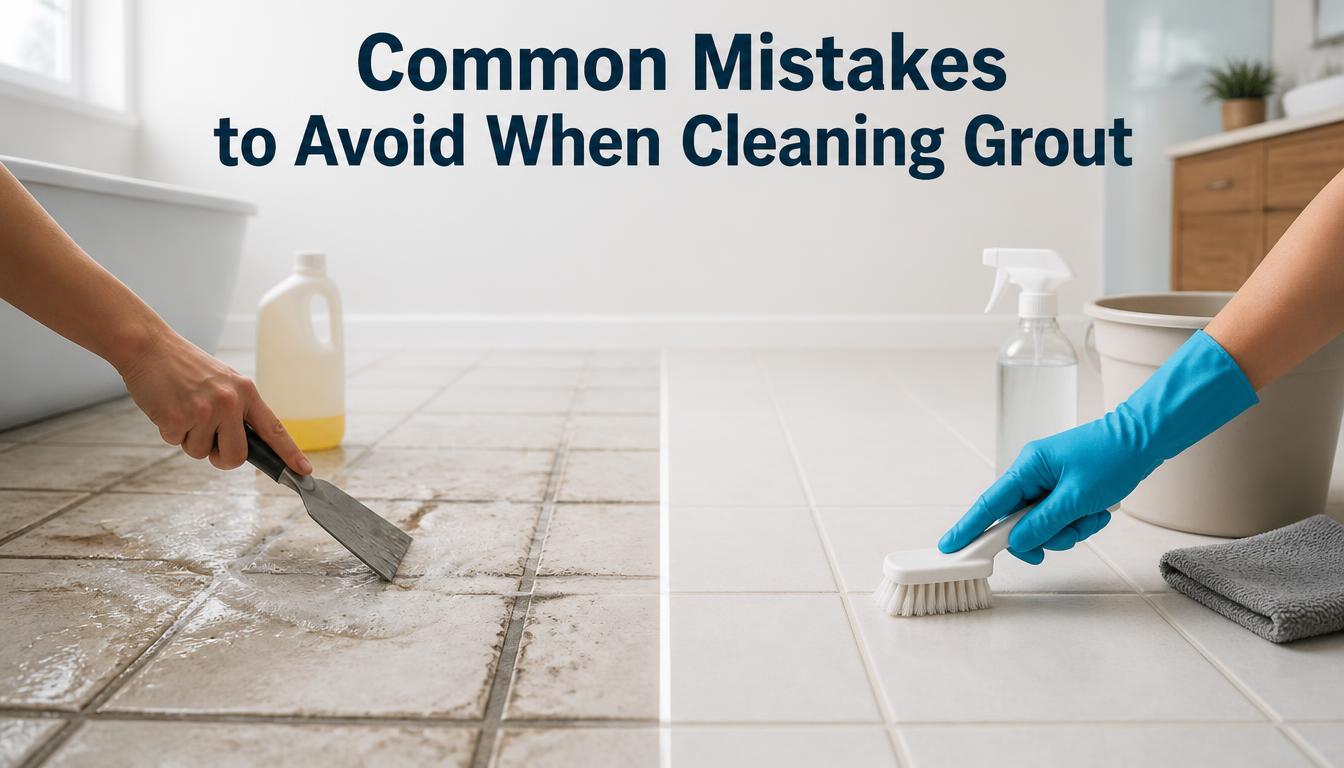
One common mistake involves scrubbing grout with excessively aggressive tools or materials. Sandpaper and stiff scrapers can damage grout and potentially scratch nearby ceramic surfaces. Metal tools are particularly unsuitable for narrow grout joints during routine cleaning. Instead, choose soft or moderately firm brushes designed for controlled household cleaning. Gentle pressure can remove dirt without unnecessarily wearing down the grout surface.
Another mistake involves using stronger chemicals simply because stains appear difficult. Powerful cleaners are not automatically safer or more effective for every grout type. Certain aggressive detergents can potentially damage grout surfaces and increase future staining. Never combine bleach with ammonia or other incompatible cleaning products. Always read product labels and follow the manufacturer’s safety instructions.
Ignoring moisture problems can also cause grout discoloration to return repeatedly. Mold grows where moisture persists, including areas around plumbing leaks and damp bathrooms. Cleaning alone cannot permanently solve a continuing moisture problem. Fix leaks, improve bathroom ventilation, and dry wet surfaces whenever practical. If substantial mold growth keeps returning, professional assessment may be more appropriate than repeated household cleaning.
You may also like:
How to Keep Grout Lines Clean for Longer:

Regular maintenance is one of the easiest ways to reduce heavy grout buildup. Sweep or vacuum tiled floors regularly to remove loose dirt before accumulation increases. Wipe spills promptly because liquids can otherwise remain around porous grout surfaces. In kitchens, cleaning grease and food residue quickly can prevent stubborn discoloration. Bathrooms also benefit from regular cleaning and improved ventilation after showers.
Keeping moisture under control can make a significant difference in grout maintenance. Use bathroom exhaust fans that vent outdoors whenever appropriate for your home. Repair plumbing leaks promptly because persistent moisture can encourage mold growth. EPA guidance also recommends cleaning mold from hard surfaces while addressing moisture problems. These habits can help prevent recurring dark patches around grout joints.
Deep cleaning becomes easier when regular maintenance prevents thick layers of accumulated grime. Instead of waiting until every grout line looks dark, clean smaller areas consistently. Choose gentle cleaning methods first and increase cleaning intensity only when necessary. Always rinse surfaces properly after using a cleaning solution on tiled areas. With consistent care, your grout can remain cleaner while requiring less intensive cleaning.
You may also like:
Conclusion:
Learning how to clean grout lines does not require complicated equipment or aggressive chemicals. Start by removing loose dirt, then apply a suitable cleaning solution carefully. Allow the solution to loosen buildup before gently scrubbing the affected grout lines. Rinse away remaining residue and dry the surface thoroughly after cleaning. Soft brushes and appropriate household methods can provide effective results for many routine cleaning situations.
Remember that grout type, tile material, and staining conditions can influence your cleaning approach. Cement-based grout generally requires more careful maintenance because it can absorb moisture. Epoxy grout usually offers stronger resistance against moisture, stains, and everyday chemical exposure. Always follow manufacturer recommendations when cleaning unfamiliar tiles or grout materials.
Regular maintenance can prevent minor discoloration from becoming difficult, stubborn buildup. Sweep regularly, clean spills quickly, control moisture, and avoid unnecessarily harsh cleaning methods. If mold repeatedly returns, address the underlying moisture issue instead of repeatedly cleaning symptoms. With these practical habits, Freaky Thread can help you keep tiled surfaces cleaner. A consistent routine ultimately makes grout maintenance easier and keeps your floors looking refreshed.