Table of Contents:
Introduction:
Painting your walls can completely transform the appearance of your home, but the final result may sometimes look disappointing. Uneven colour, visible roller marks, streaks, and paint drips can make a freshly painted room appear unfinished. Many homeowners experience this issue after spending hours preparing and painting their walls. Fortunately, most paint problems can be corrected with proper techniques and patience.
If you are searching for how to fix uneven paint, the first step is understanding why the problem happened. Uneven finishes usually occur because of poor surface preparation, incorrect paint application, insufficient coats, or differences in how surfaces absorb paint. Identifying the cause helps you choose the right repair method instead of applying unnecessary layers.
At Freaky Thread, we understand that achieving a smooth wall finish requires attention to detail and the correct process. This guide explains how to fix uneven paint on walls, repair patchy areas, remove dripped paint, and prevent similar problems during future painting projects.
Common Causes Behind Uneven Paint on Walls:
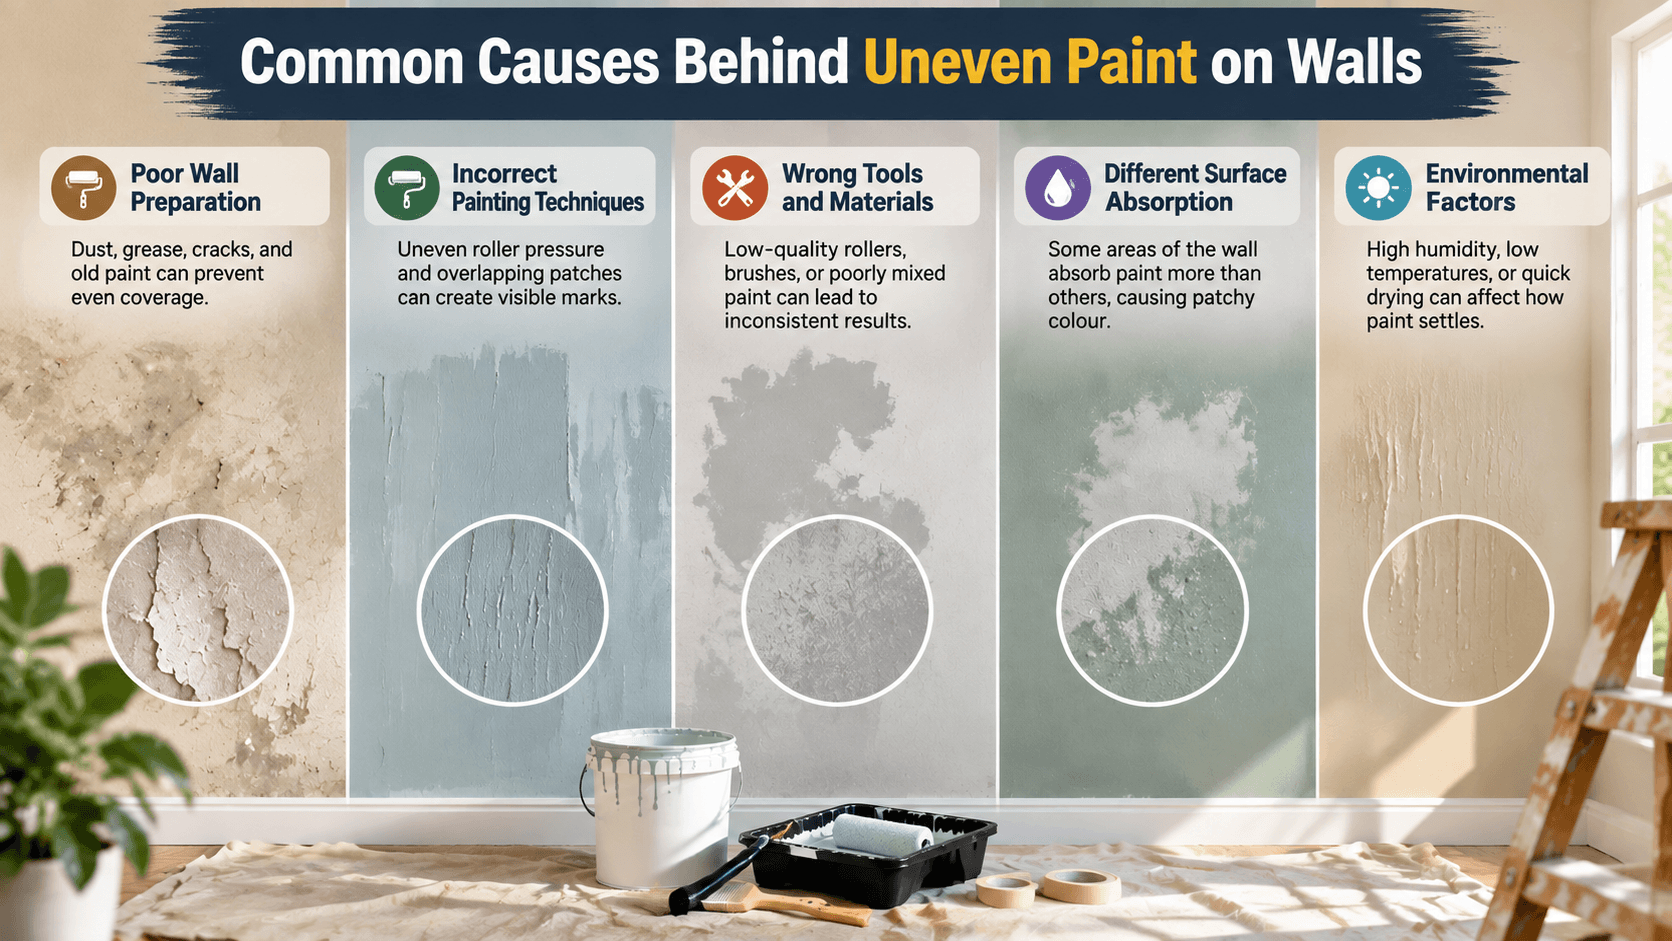
One of the biggest reasons behind uneven paint is inadequate wall preparation before painting begins. Walls that contain dust, grease, cracks, holes, or old damaged paint may not absorb new paint evenly. These surface problems can create visible differences in colour and texture after the paint dries. Proper cleaning, sanding, and repairing damaged areas create a better foundation for painting.
Another common cause is applying paint incorrectly during the painting process. Using inconsistent roller pressure, applying too much or too little paint, and failing to maintain a wet edge can create noticeable marks. When one section dries before another section is blended, lap marks and uneven patches may become visible.
The tools and materials used during painting also influence the final appearance. Low-quality rollers, unsuitable brushes, and poorly mixed paint can prevent smooth coverage. Environmental conditions such as high humidity, extreme temperatures, and limited drying time between coats may also affect how evenly paint settles on walls.
You may also like:
How to Fix Uneven Paint on Walls Step by Step:
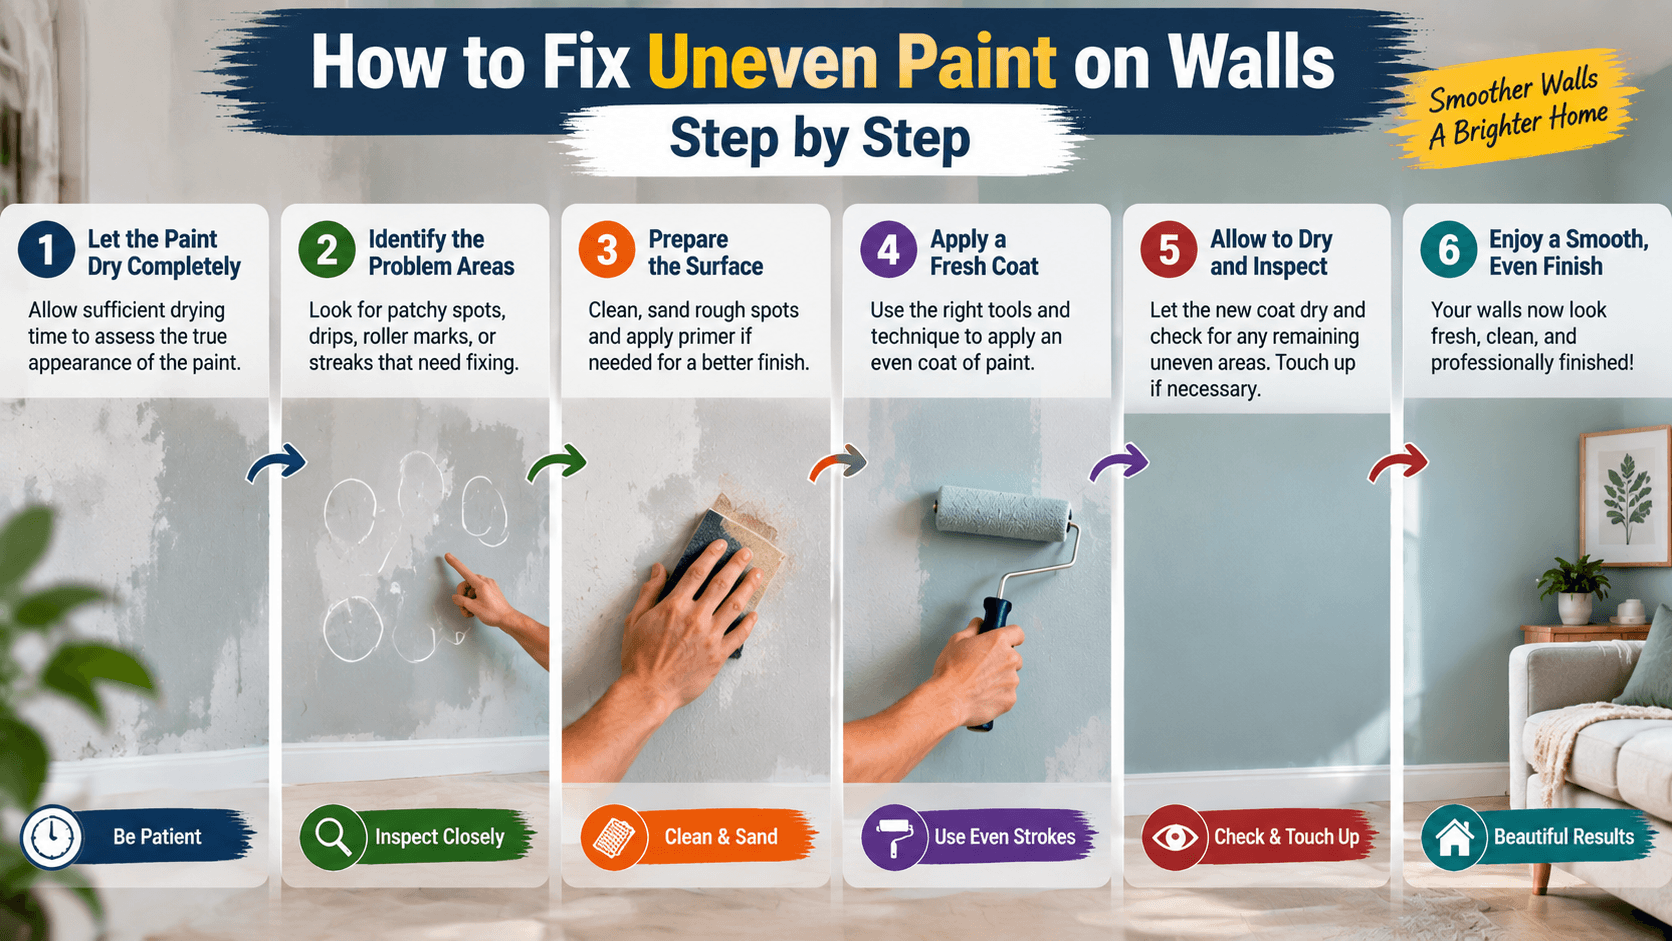
Before attempting repairs, allow the existing paint to dry completely because wet paint can appear more uneven than it actually is. Fresh paint reflects light differently while drying, which may create temporary streaks or colour variations. Waiting until the surface has fully dried helps you accurately identify the problem areas.
The next step is examining the wall carefully to determine the type of unevenness present. Look for patchy colour, raised roller marks, rough textures, paint buildup, or shiny and dull areas. Each issue requires a slightly different solution, so proper identification prevents unnecessary repainting.
After identifying the problem, prepare the surface before applying another coat. Lightly sand raised areas, remove dust, repair damaged sections, and apply primer where needed. A clean and smooth surface allows fresh paint to bond properly and creates a more consistent finish.
You may also like:
How to Fix Patchy Paint on Walls:
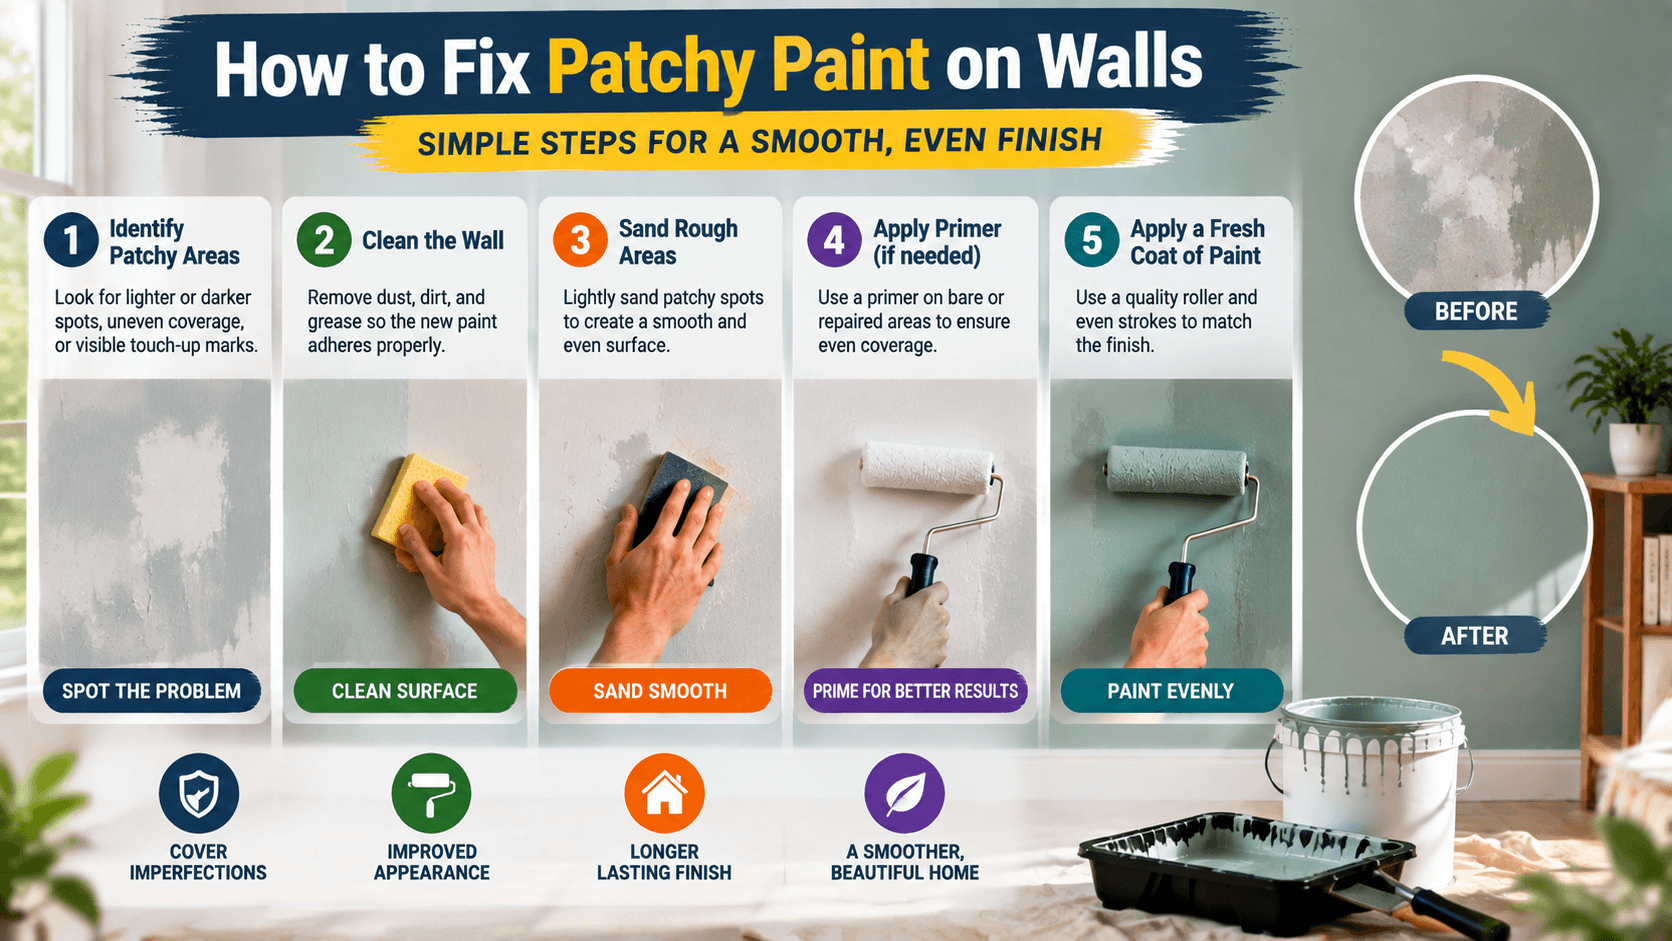
Patchy paint is one of the most common problems homeowners face after completing a painting project. It usually appears as lighter or darker areas across the wall surface. This happens when paint coverage is inconsistent, the surface absorbs paint differently, or the wall requires additional coats for complete colour depth.
Learning how to fix patchy paint on walls starts with checking whether the paint has dried completely. If patches remain after drying, gently sand the affected areas and remove any dust. For walls with repaired sections or exposed surfaces, applying primer before repainting helps prevent uneven absorption.
In many cases, adding another complete coat of paint across the entire wall provides the best solution. Small touch-ups may create noticeable differences in colour and shine, especially when the original paint has aged. A full, even coat helps blend the surface and creates a professional appearance.
You may also like:
How to Fix Dripped Paint and Paint Runs:
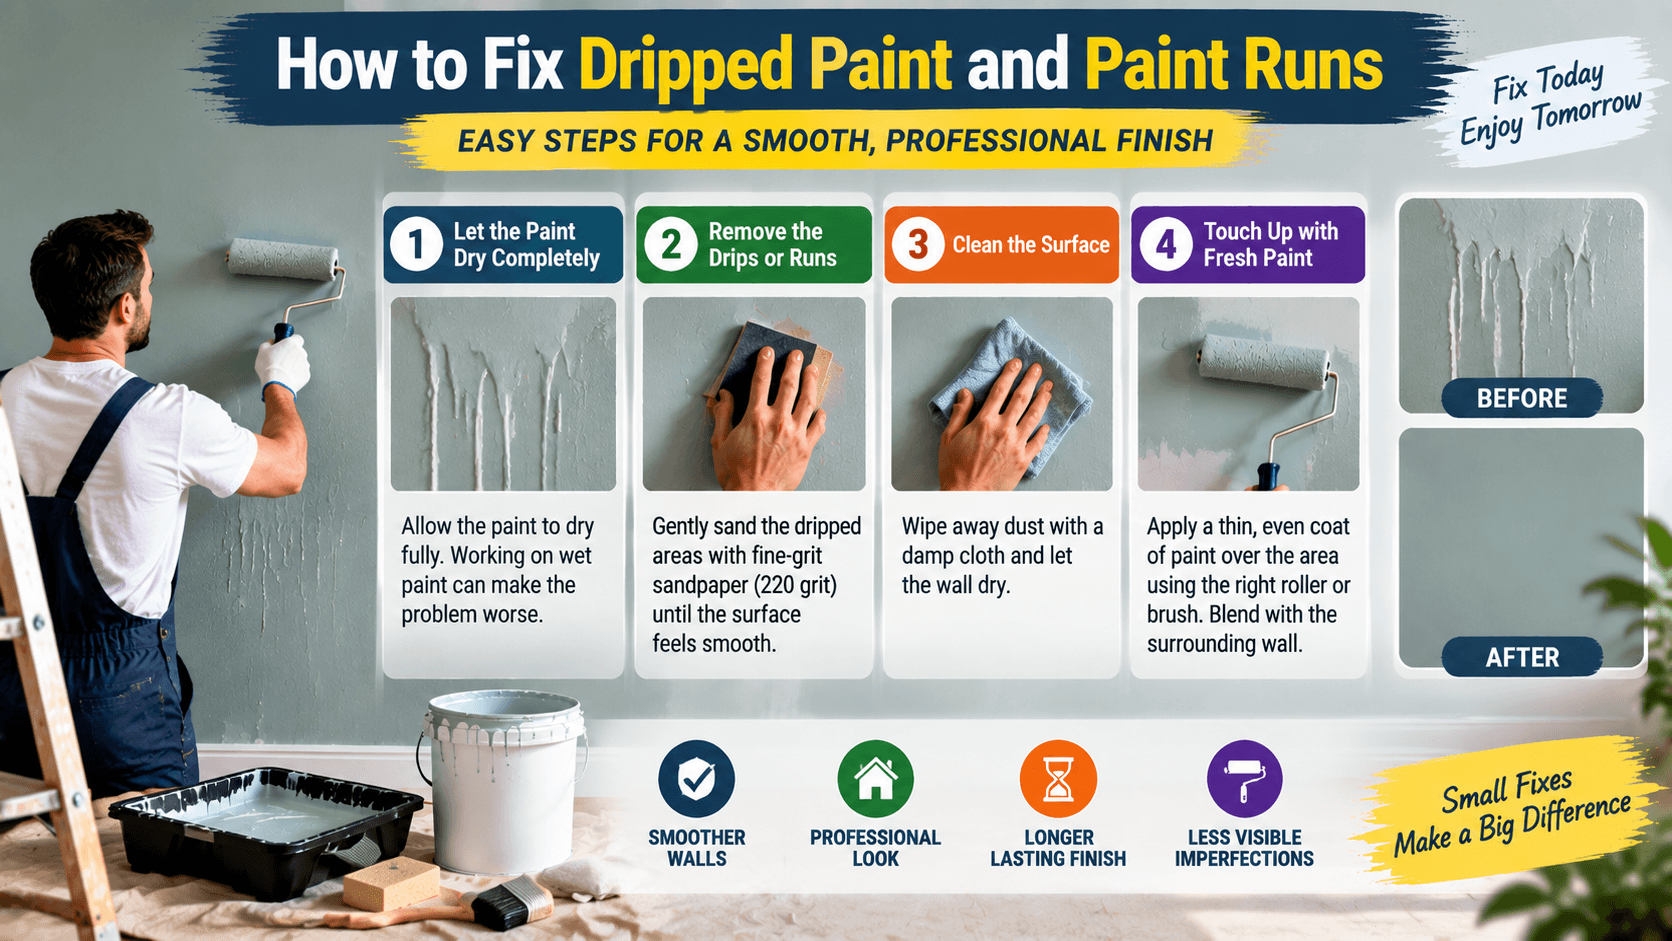
Paint drips usually occur when too much paint is applied in one area. Overloading a roller or brush can cause excess paint to collect and create raised lines on the wall. These drips become more noticeable after drying because they create uneven textures that reflect light differently.
If the paint drip is still wet, carefully smooth the excess paint using a clean brush or roller. Avoid spreading the paint too aggressively because this can create additional marks. Working slowly helps maintain an even surface without making the problem worse.
For dried drips, the repair process requires more preparation. Start by lightly sanding the raised area until it becomes smooth with the surrounding wall. Remove all dust before applying primer or fresh paint. Knowing how to fix dripped paint properly prevents visible bumps from appearing after repainting.
You may also like:
Repairing Roller Marks, Streaks, and Uneven Texture:
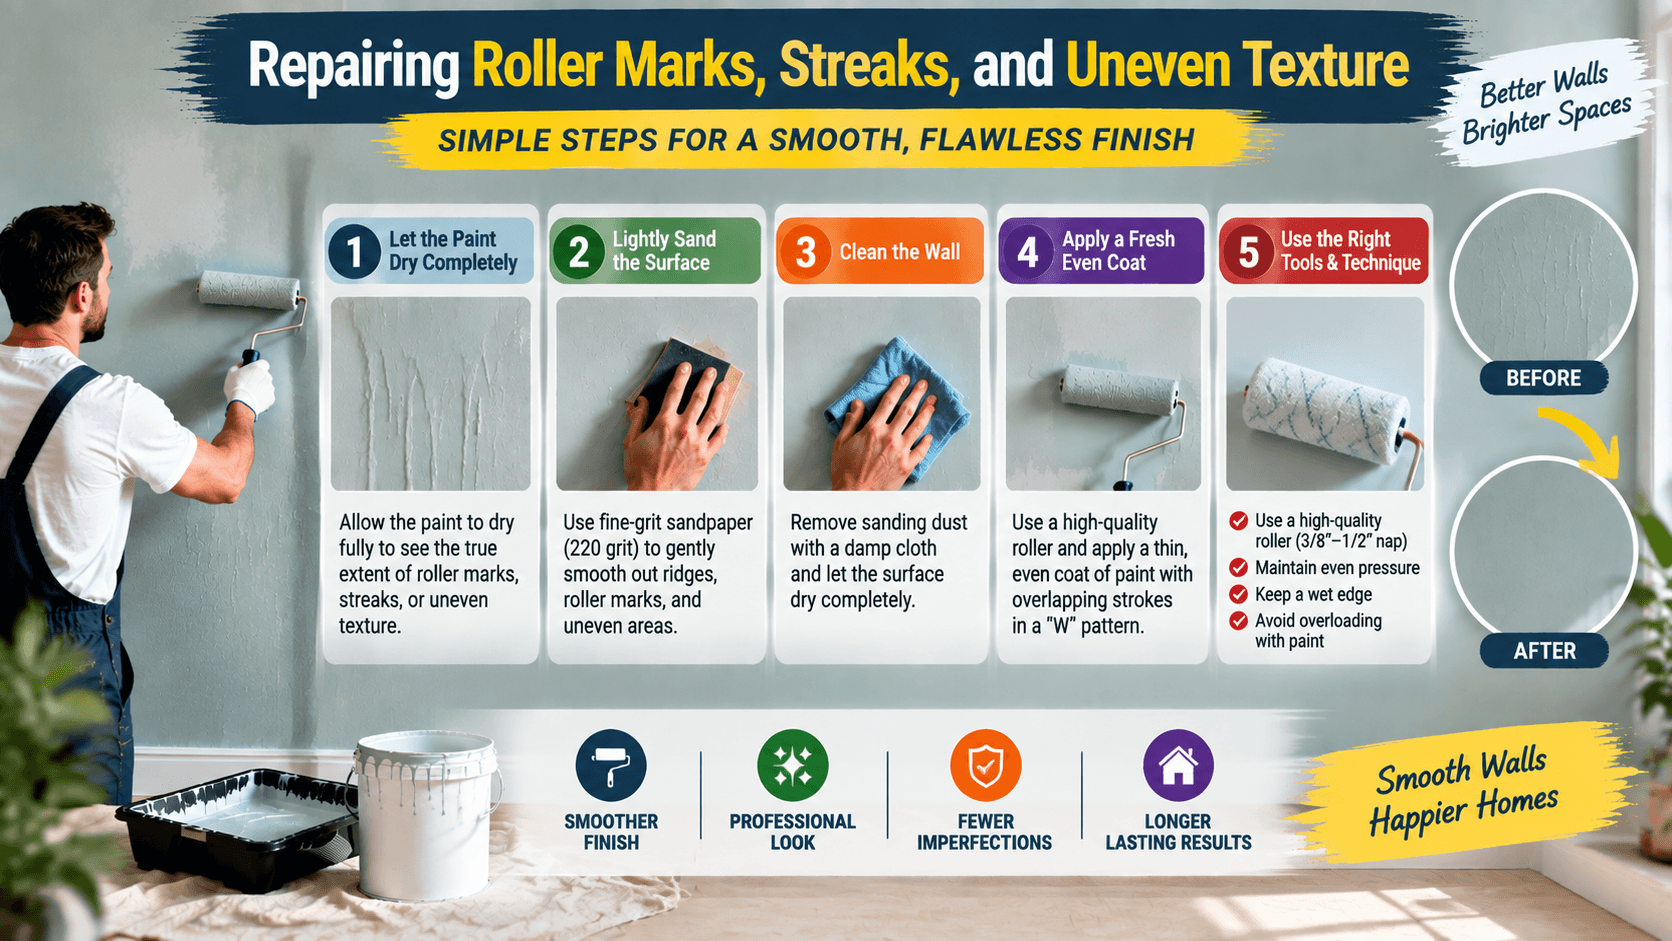
Roller marks often appear when paint is applied with inconsistent pressure or when the roller does not contain enough paint. These marks can create visible lines across the wall, especially under direct lighting. They are common problems when painters rush the application process or repeatedly roll over drying paint.
To repair roller marks, allow the paint to dry before making corrections. Lightly sand the raised lines and remove leftover dust from the surface. After preparation, apply a fresh coat using a quality roller and maintain steady pressure throughout the painting process.
Preventing roller marks requires proper painting techniques. Keep the roller evenly loaded, work in manageable sections, and maintain a wet edge while moving across the wall. These simple methods help new paint blend smoothly and reduce visible texture differences.
You may also like:
Ways to Prevent Uneven Paint Problems in Future:
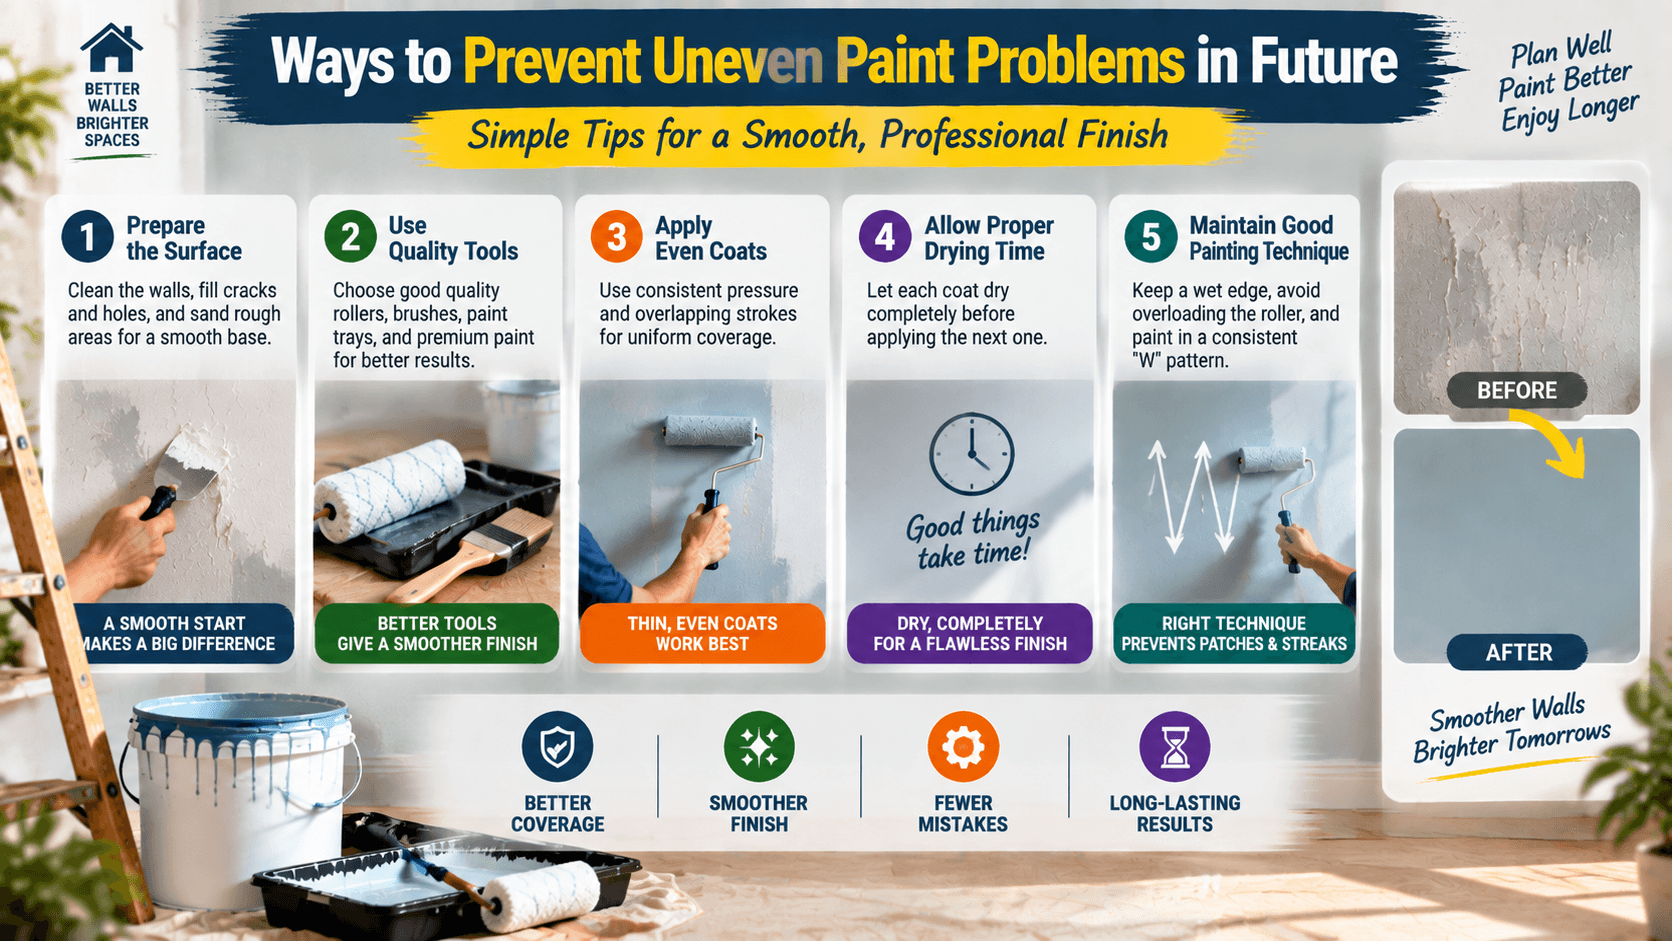
Preventing uneven paint begins with proper preparation before opening the paint container. Clean walls thoroughly, repair cracks and holes, and smooth rough areas before painting. A properly prepared surface allows paint to spread evenly and reduces the chance of visible imperfections.
Choosing the right tools and materials also plays an important role in achieving better results. High-quality rollers, suitable brushes, and properly mixed paint provide better coverage. Applying multiple thin coats is usually more effective than applying one thick coat because thick layers can create drips and uneven textures.
Good painting habits can make a significant difference in the final finish. Allow enough drying time between coats, avoid rushing the process, and maintain consistent application techniques. These steps help create smoother walls and reduce the need for future repairs.
You may also like:
Conclusion:
Uneven paint can affect the appearance of an entire room, but it does not always require starting the project again from the beginning. By identifying the cause, preparing the surface correctly, and applying paint carefully, most uneven finishes can be repaired successfully.
Whether you need to learn how to fix uneven paint on walls, repair patchy areas, or remove paint drips, the correct approach depends on the specific problem. Proper sanding, priming, and repainting techniques can restore your walls and create a smoother appearance.
At Freaky Thread, we believe that quality results come from preparation, patience, and attention to detail. Taking the right steps before and during painting helps you achieve beautiful, even walls that improve the overall look of your home. With the right knowledge and techniques, fixing uneven paint becomes a simple and manageable task.